Good Morning
Colossians 3:23

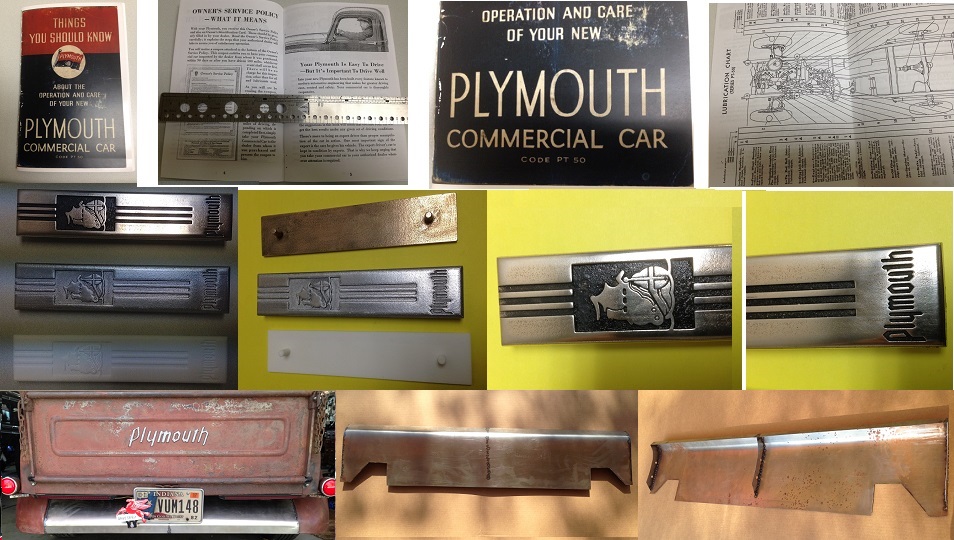
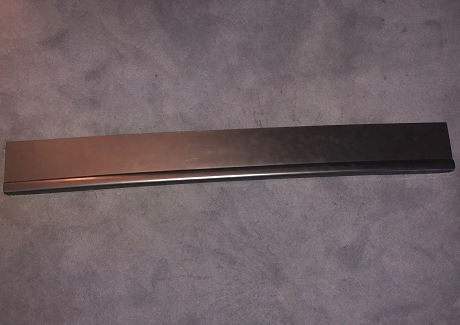
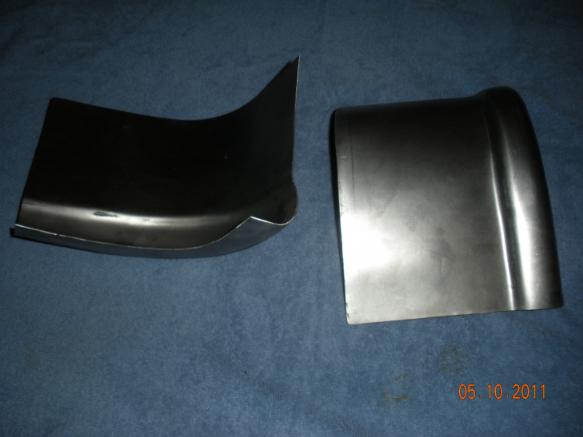
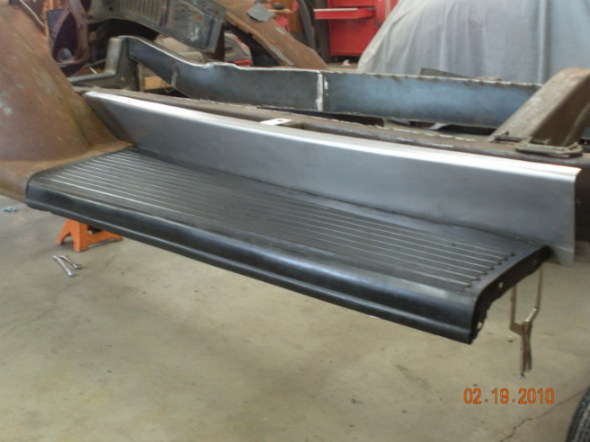
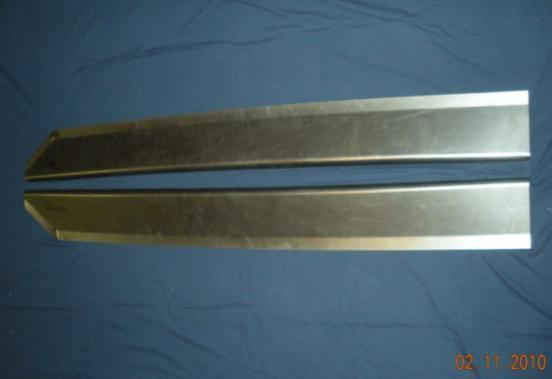
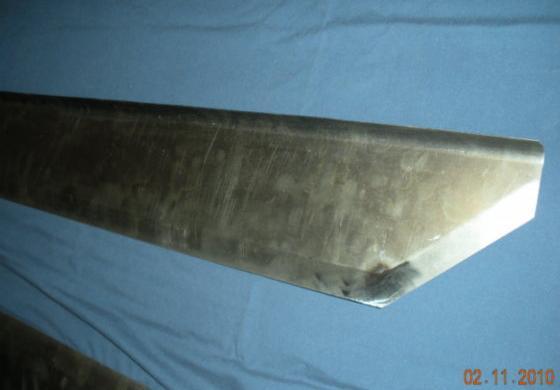
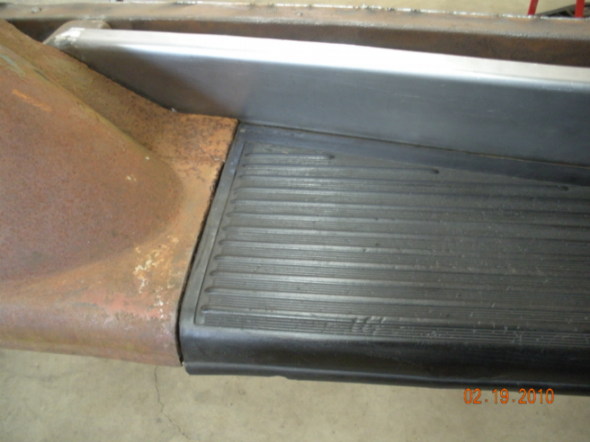
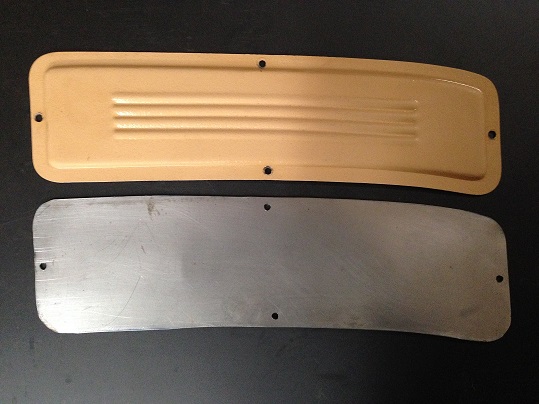
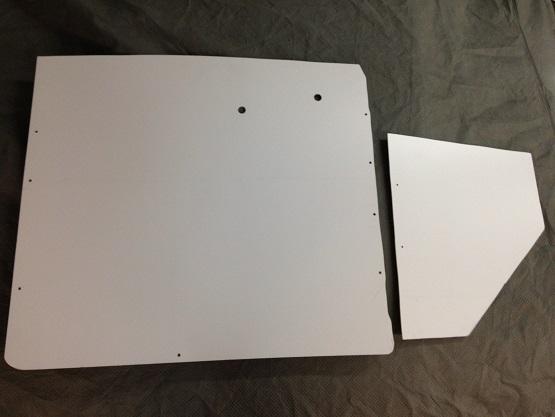
Looking for Patch/Repair Panels for your Plymouth or Dodge Pickup?
You've found the right place. See my Patch Panels farther down this page.
Contact me for a package deal if you need multiple pieces!
Mention you saw the offer on my website.
Email jr@37plyguy.com
Hopefully a place to share pictures, helpful hints and ideas.
Please feel free to join & share. Click Here or copy & paste this link https://www.facebook.com/groups/37plyguy/
I buy 1935-1938 Plymouth, Dodge and Fargo Pickups!!
|
Email me please jr@37plyguy.com
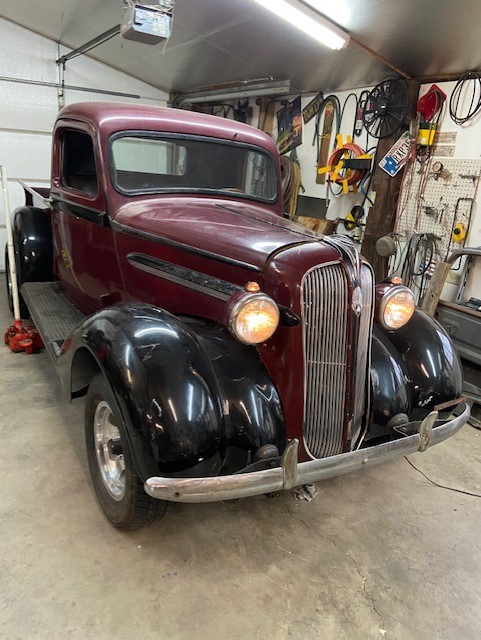
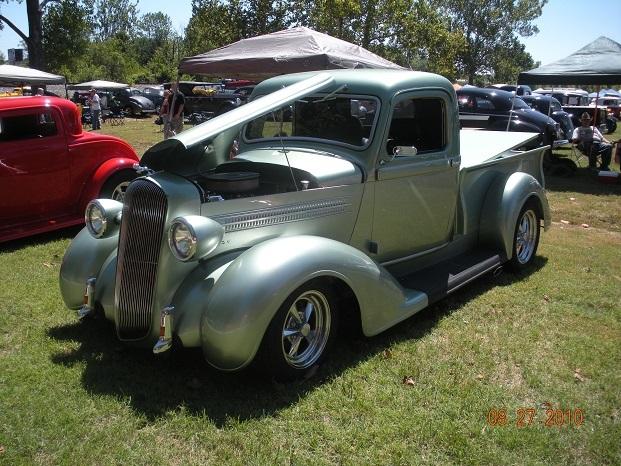
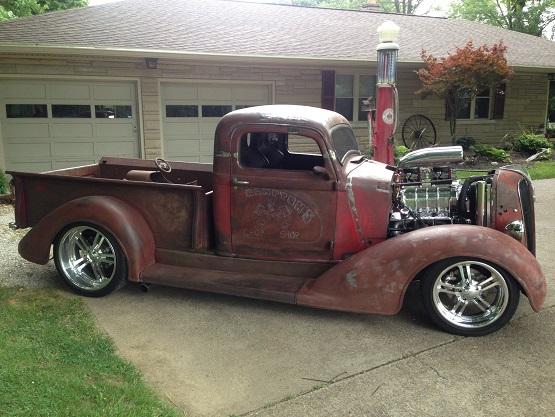
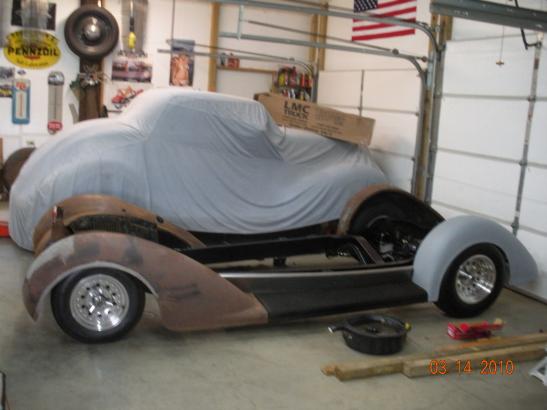
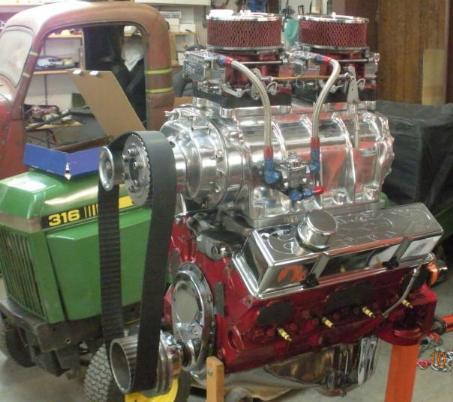
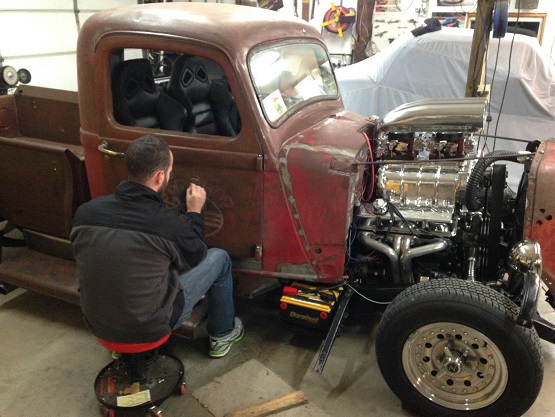
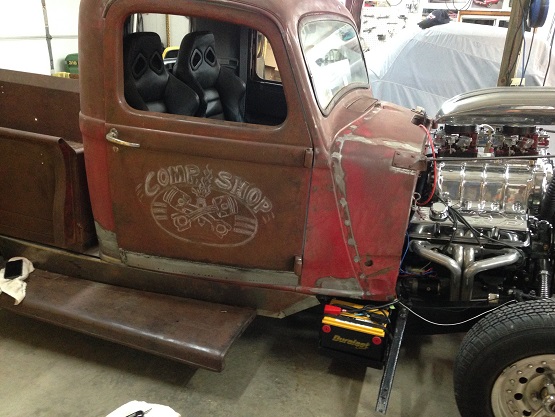
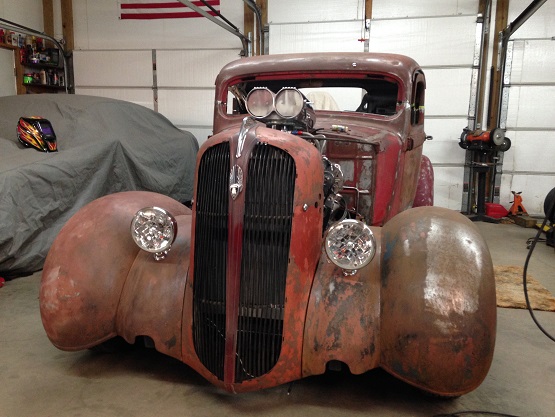
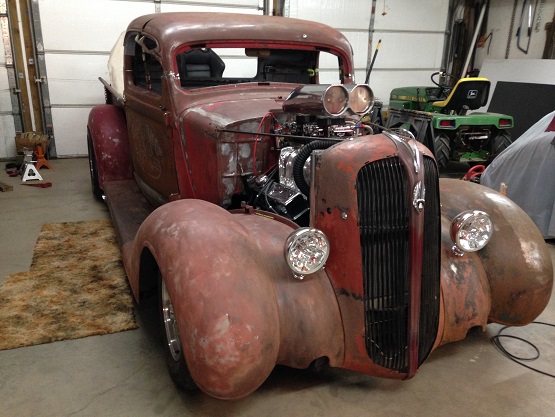
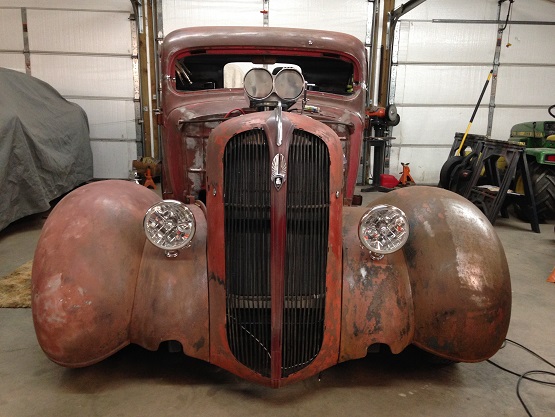
Watch this 1920’s Oil Field Dodge Promotional film I have a new project Another 1937 Plymouth PT50. I have a Desoto Hemi, GMC Blower set up for the Plymouth. 1937 Plymouth
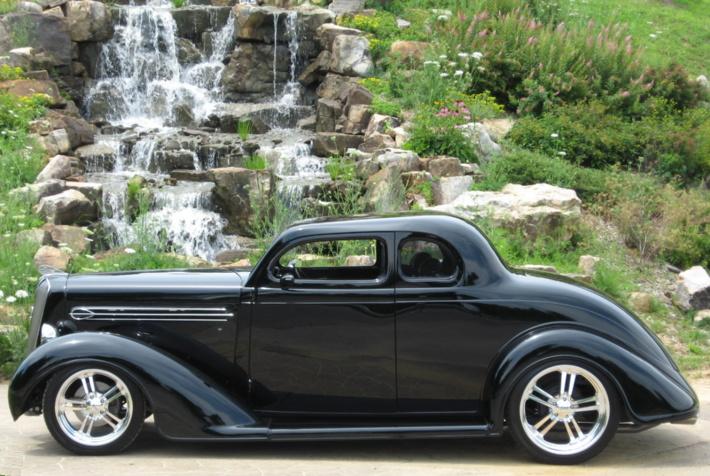
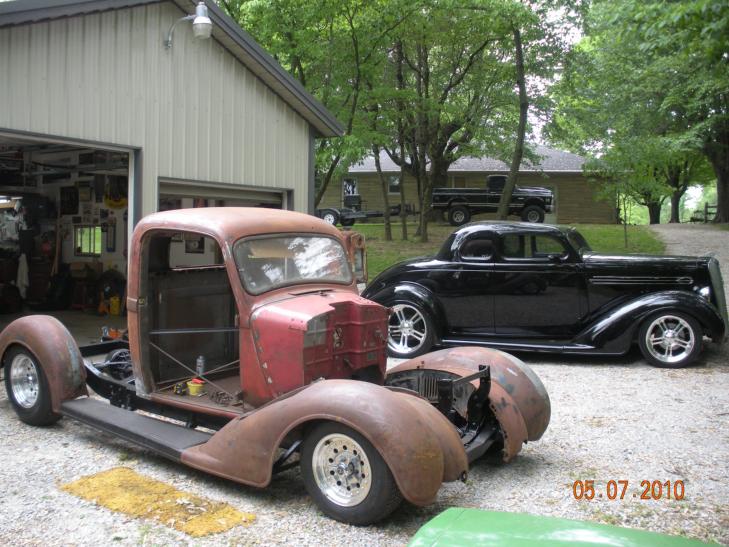
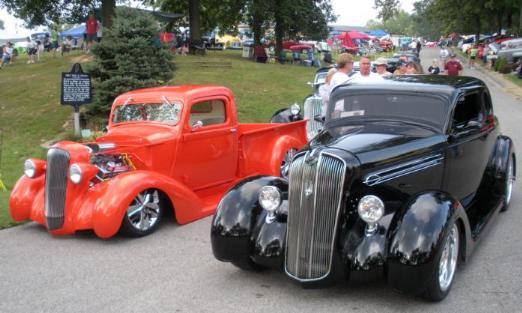
I will add pics of my progress as I have time. I hope to end up with a cloned Pick Up version of my coupe. Yes, I do love a challenge.
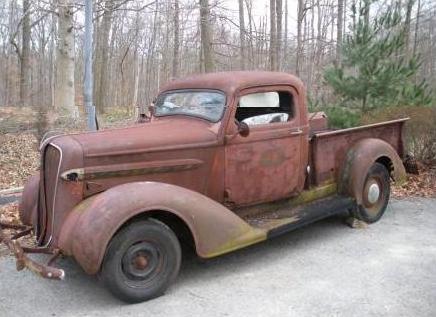
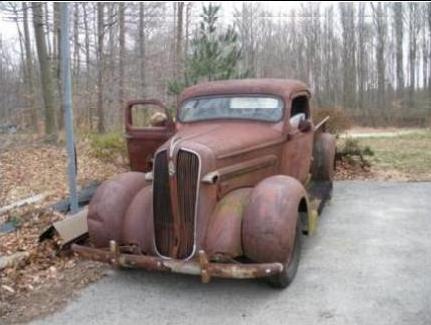
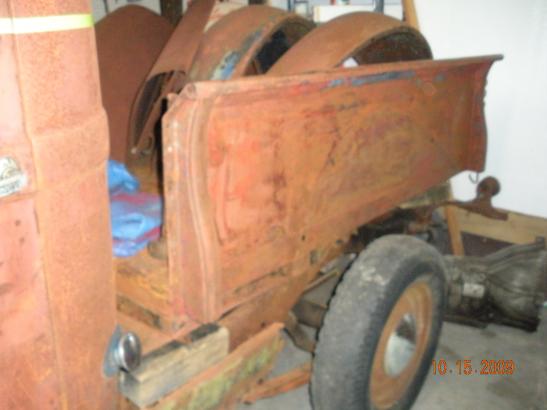
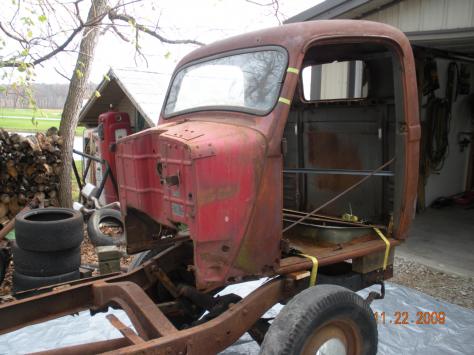
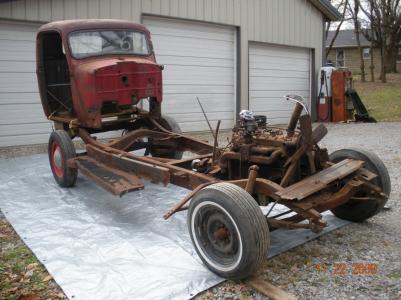
The next few shots are from the day we picked it up.
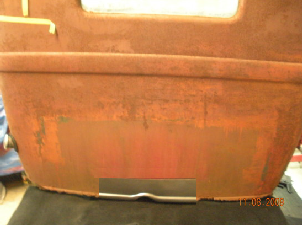
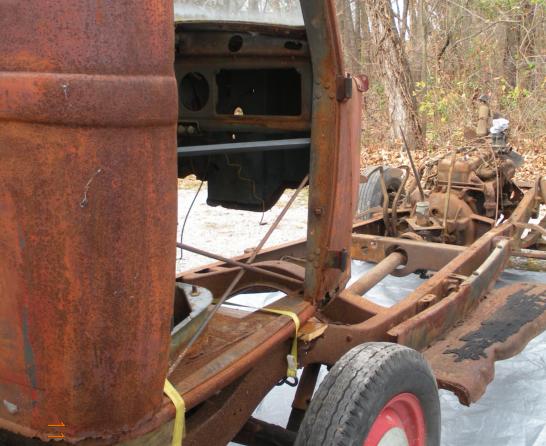
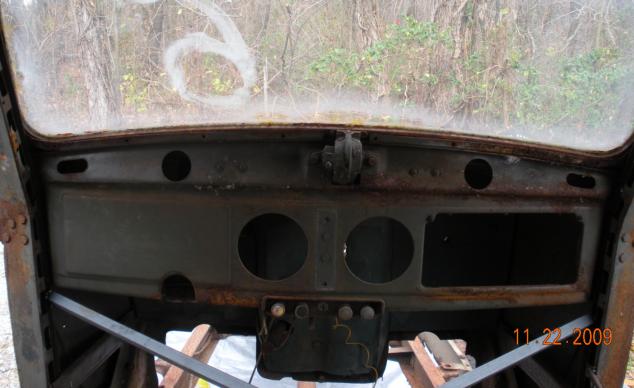
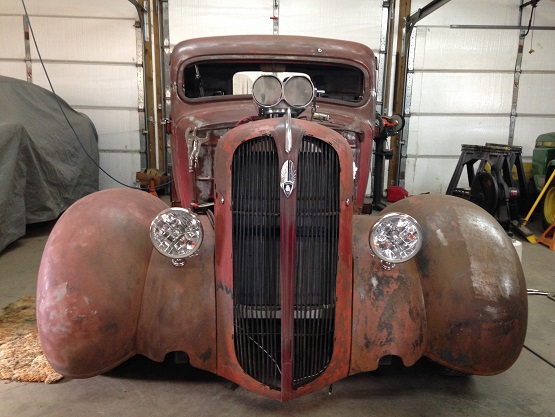
Yep... it's a rusty mess!
But fairly complete
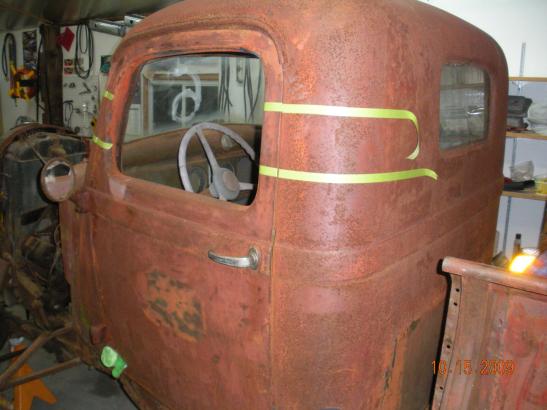
I'll have to cut that top down (modified photo)
This will be more of the look I'll be going for.
(modified photo)
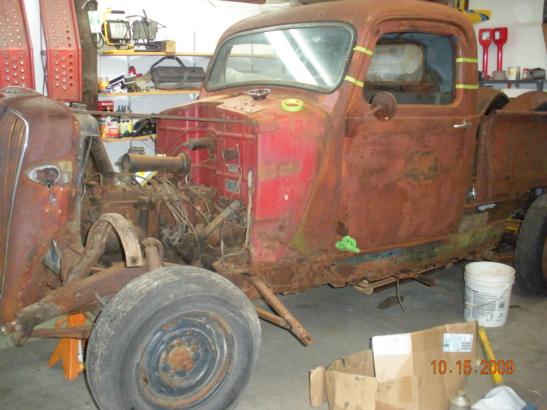
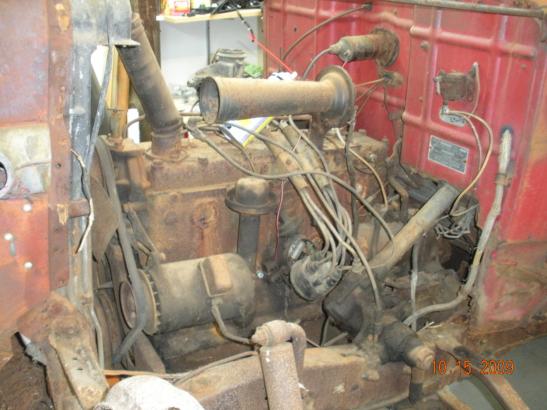
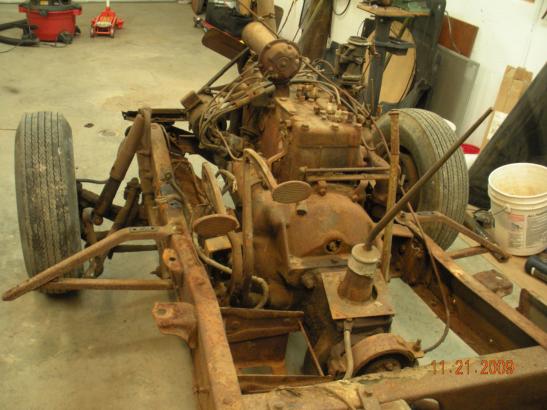
Disassembly begins October 2009 Anyone need a boat anchor?
Wonder if this will be enough off
the top...
201 CI & 75 horsepower--not plated
since 1958, but it still turns over!
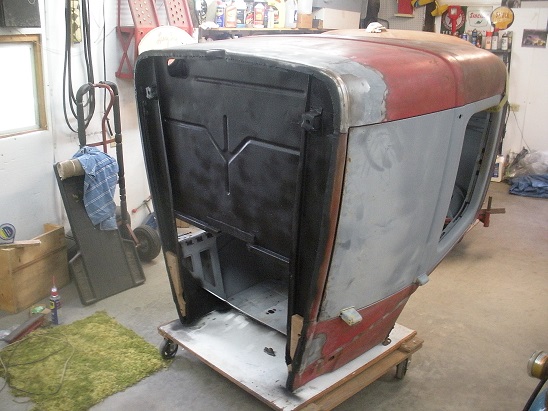
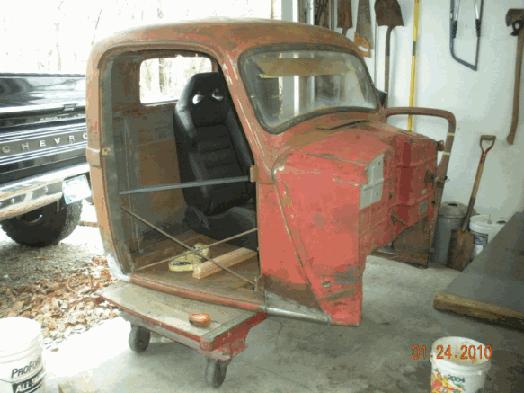
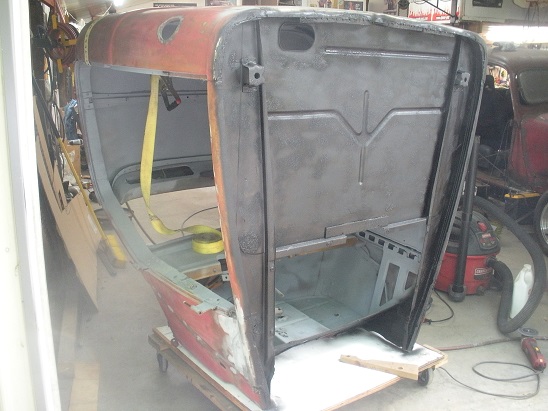
Don't have a dolly but this is one
way to keep the cab mobile.
I measured the cab and it seemed
perfectly square before removal...
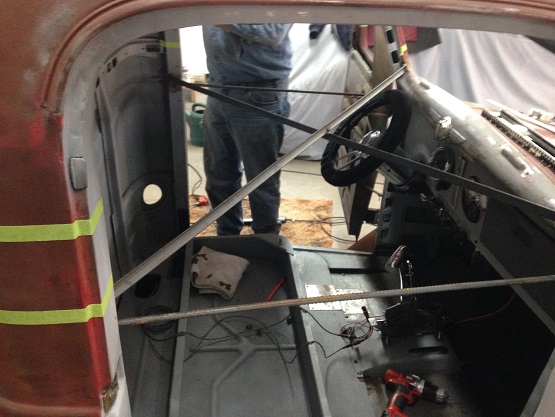
You can see some of the bracing I
added by X'ing both doors and across the cab interior in the next two
pictures. Hopefully it will still be square after patch panels.
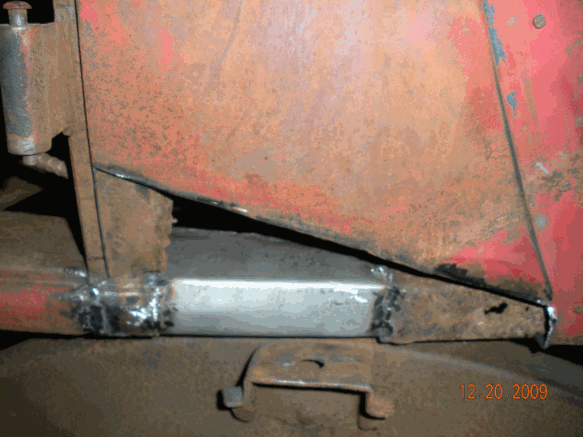
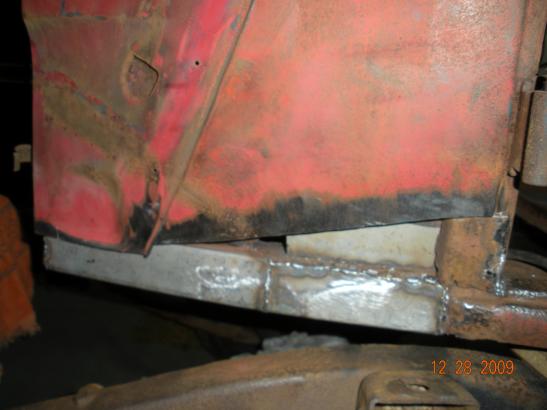
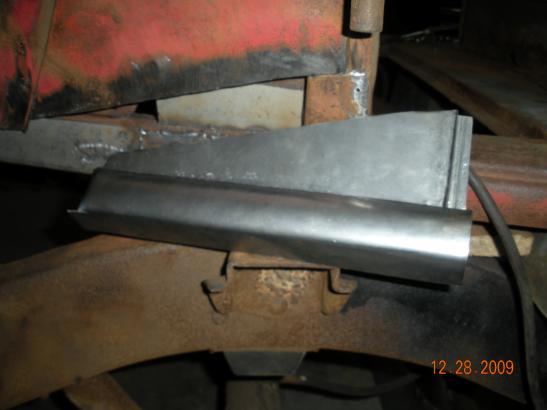
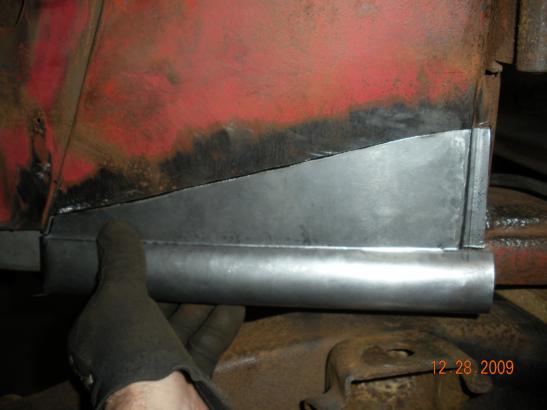
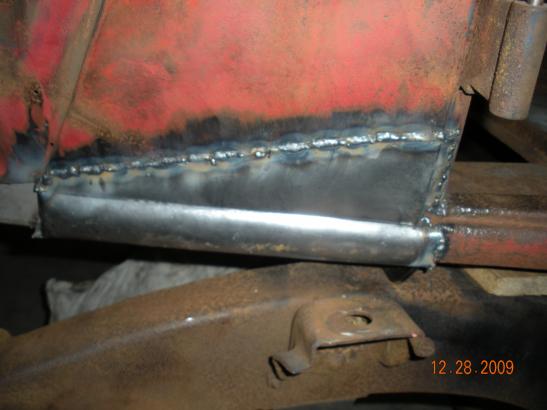
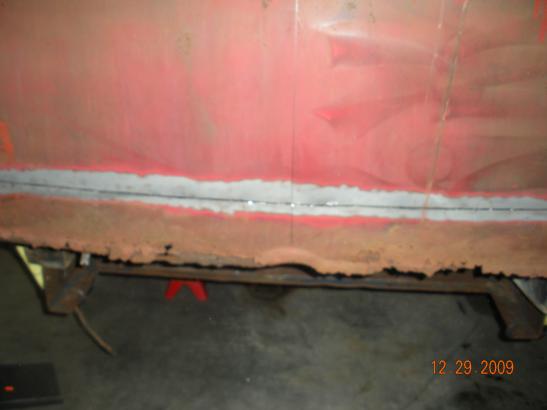
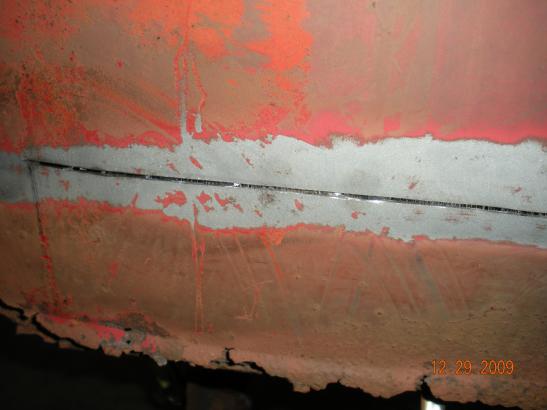
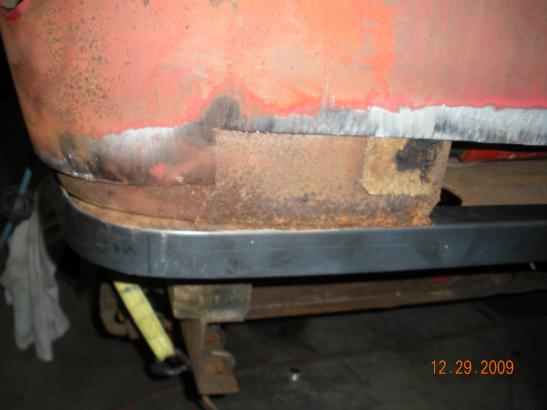
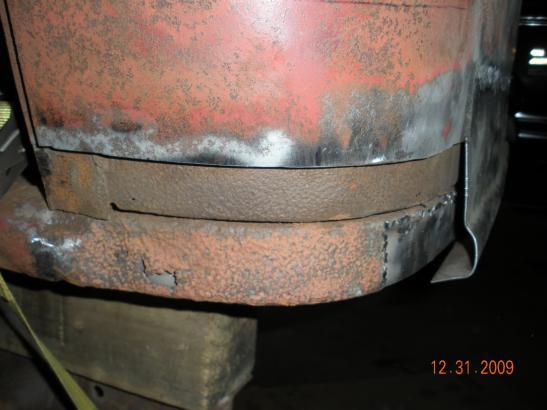
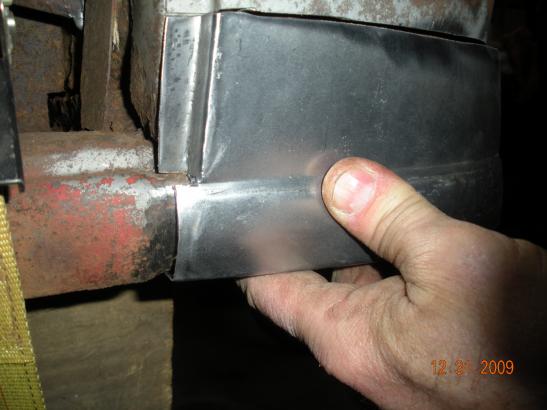
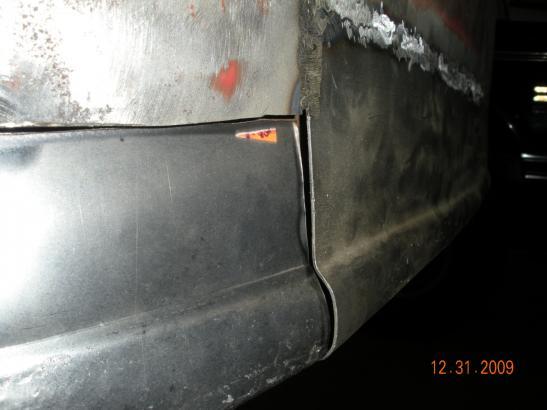
There is always hope! Started a little patch work between Christmas 2009 and New Year. this is the passenger side lower cowl.
As you can see, I had to replace
some of the frame work.
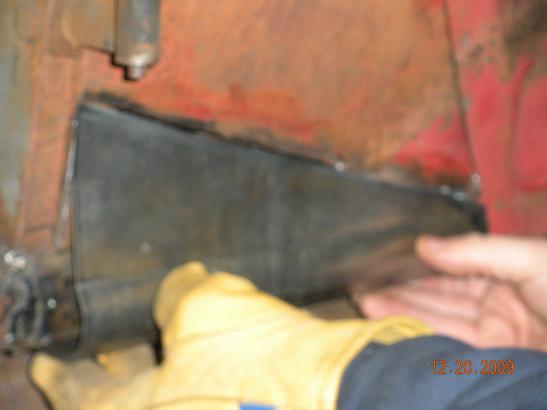
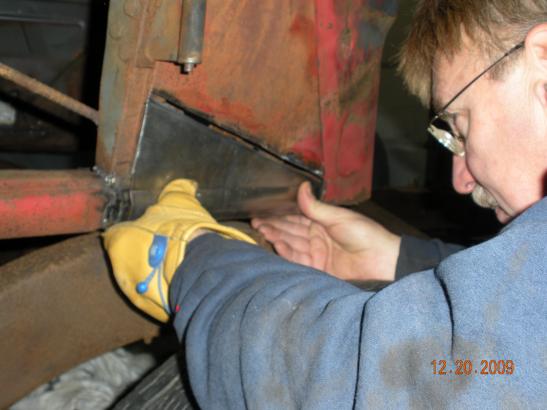
Trial fit
and again.
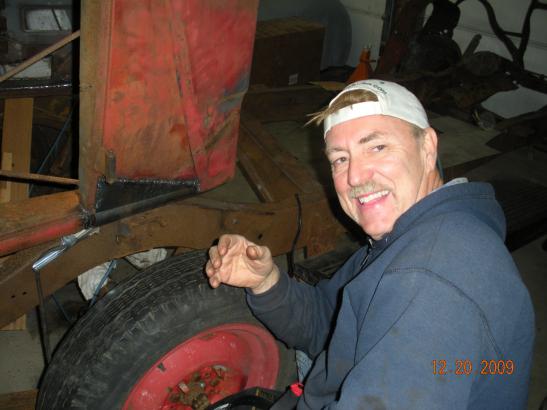
Not bad--I'll do better on the driver side.
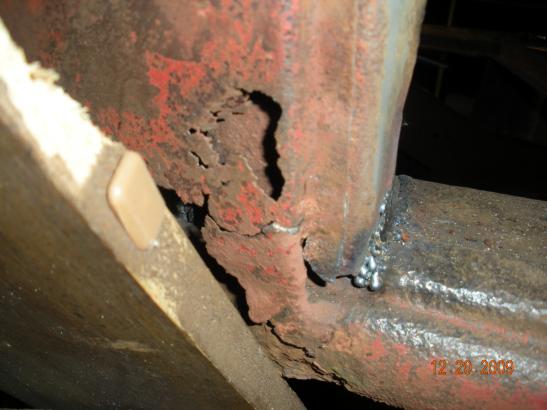
Not much to work with on the driver
side. I hate rust. This thing is worse than I remember when I brought it home last spring.
This is the inside of the Driver
side lower cowl
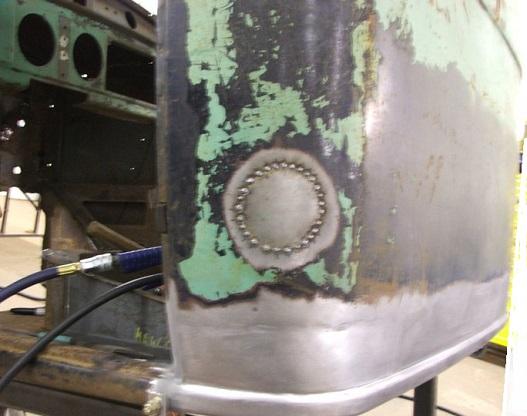
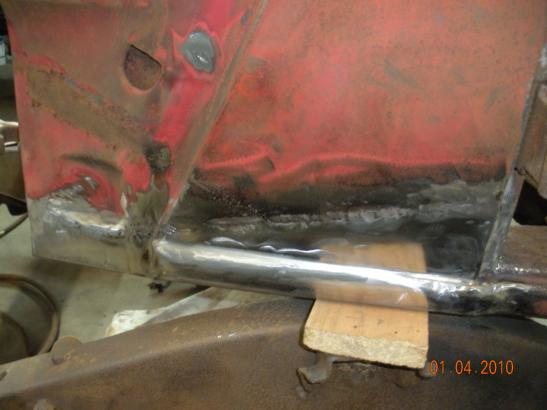
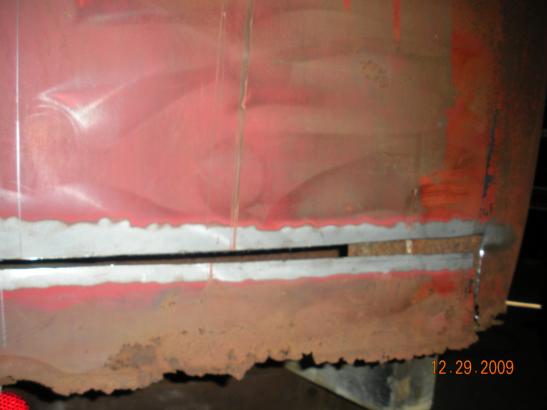
I had to replace the outer frame of
the front of lower cab. My second patch panel.
Man that's an almost perfect fit.
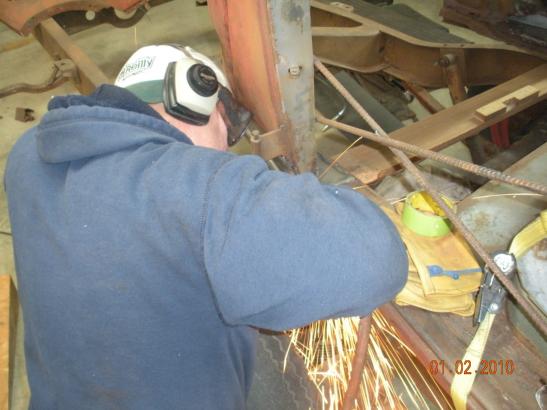
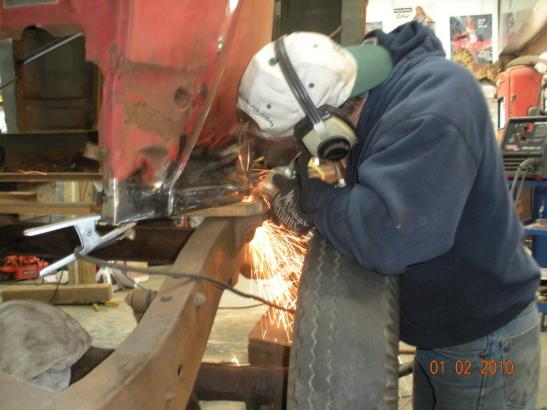
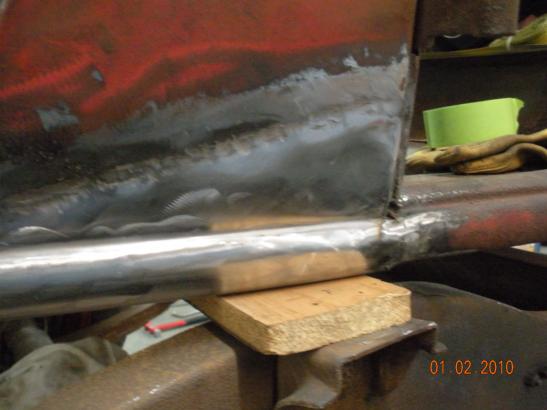
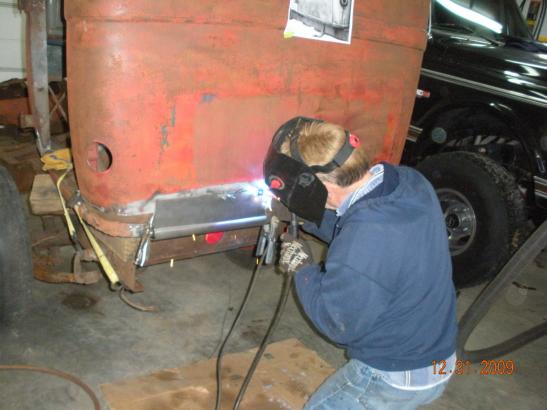
Guess you can tell, I've never had a lesson in welding. A little clean up will help.
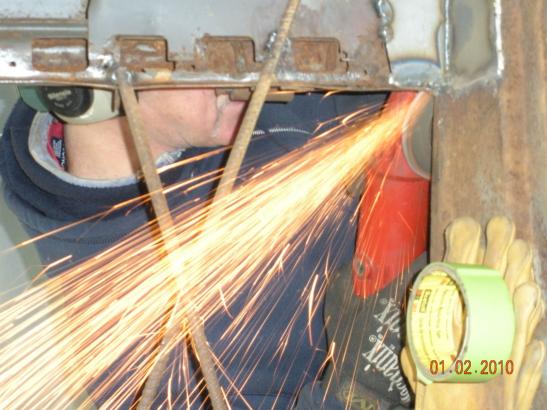
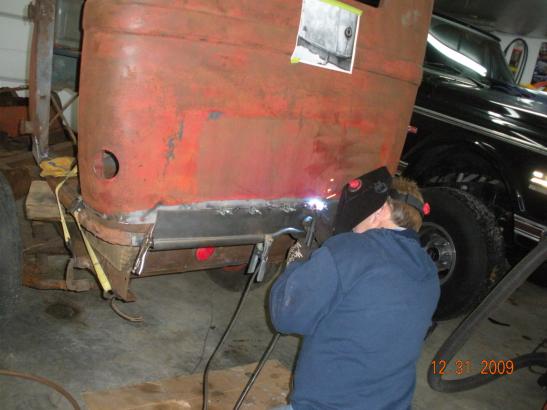
Making sparks fly.
Not bad considering I'd never made
a patch panel of any kind before...thanks to my buddy Joe for the confidence
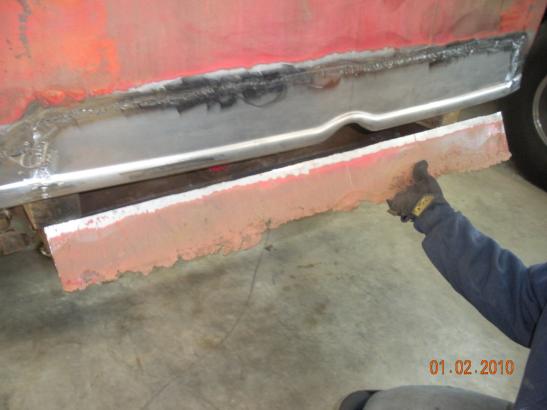
to do it all myself... One thing I want to mention here, my cab was bad enough I had to replace the metal all the way around the bottom of my cab. And I have made my patch panels long enough to do that. When you start your project, if your rust issues are not as severe as mine, trim my panels to fit just the area you need to replace. There is never a reason to cut away good original metal! This will save cutting, welding, grinding and bodywork time as well.I'll t
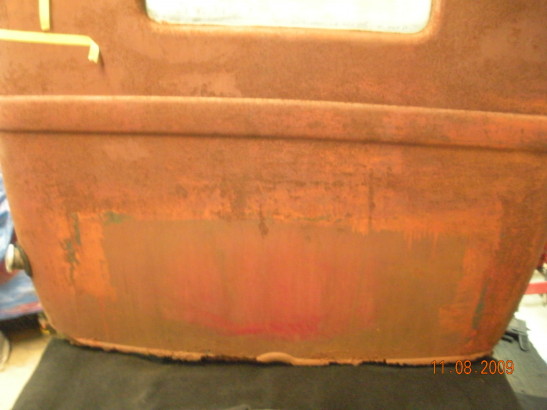
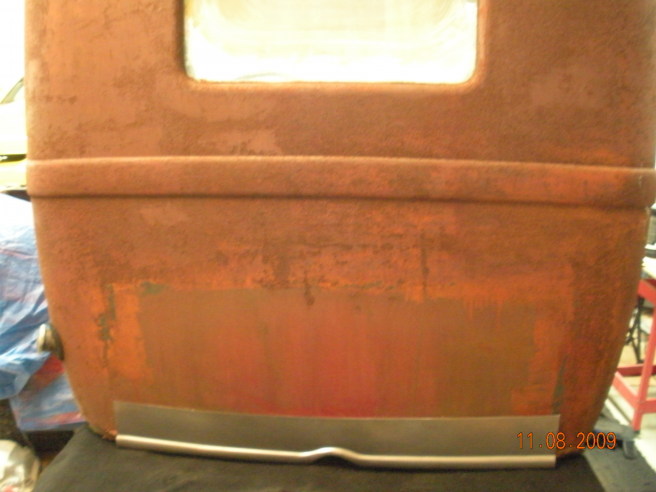
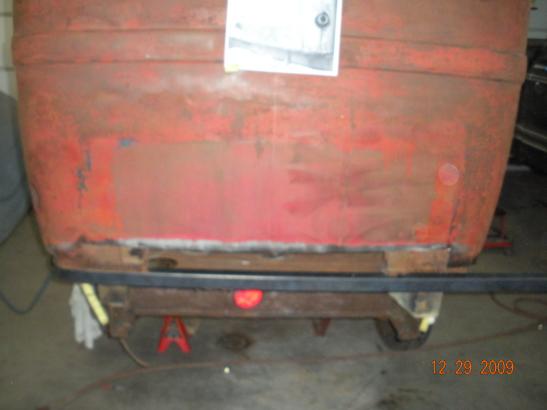
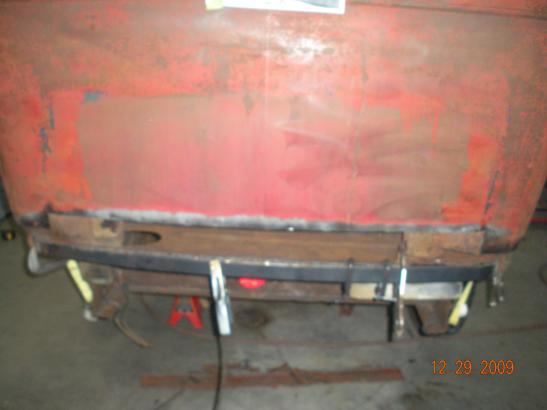
Next I'll tackle the rear of the
cab. Not much left here either.
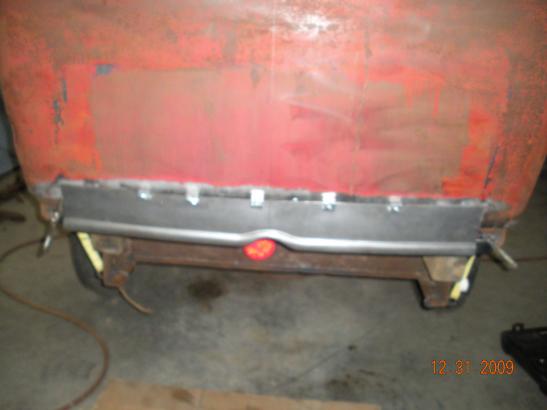
I just traced around the patch
panel when deciding where to cut.
The metal was so bad here, I wanted
to be sure I cut the weak out.
The brace around the back of the
cab floor was pretty well gone too... So I just made a new one out of straight stock and rolled it to fit.
It slid right in side the frame
channel at the cab corners. While getting the curve right I have it on the outside of the frame here.
Now it's inside an fits like a
glove. Ready to weld in place.
The old cab is starting to feel solid once again.
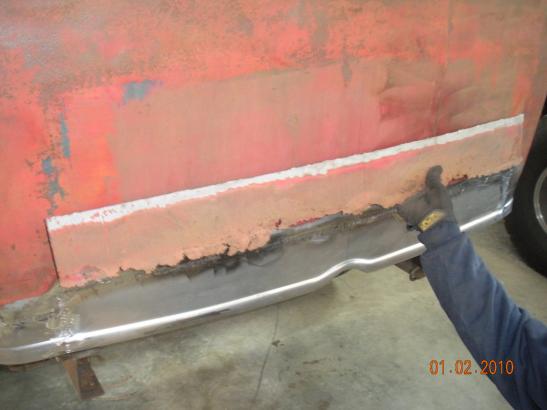
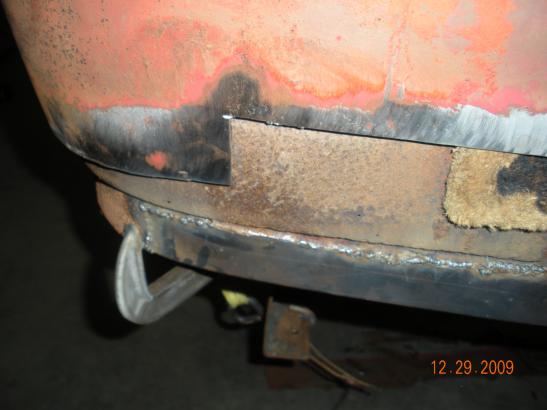
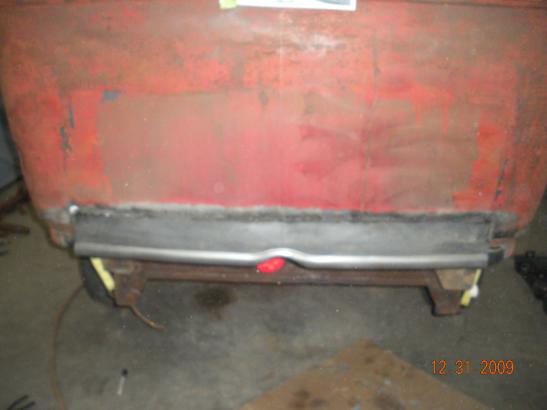
With the lower frame replaced, I
can start fitting the lower cab patch panel. Looks like my cut was right on.
Get this thing tacked in place and
see what it looks like.
.
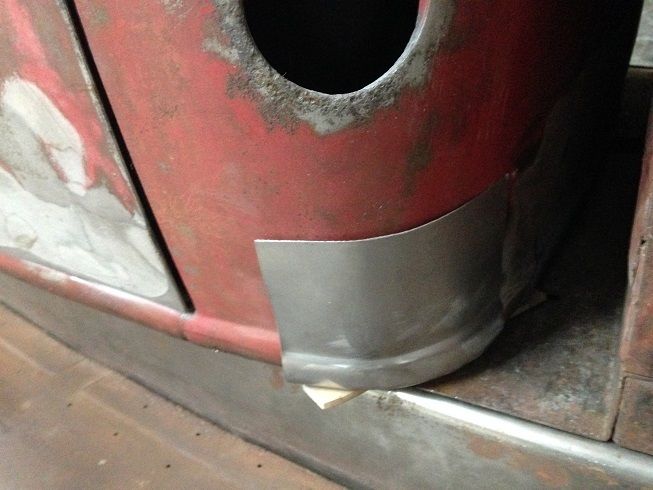
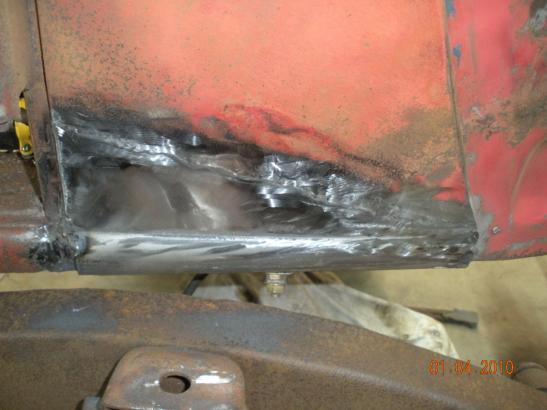
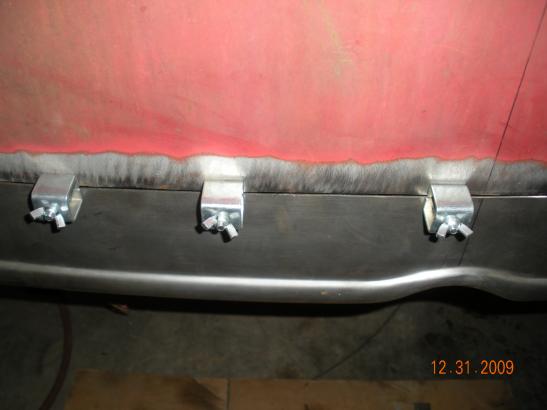
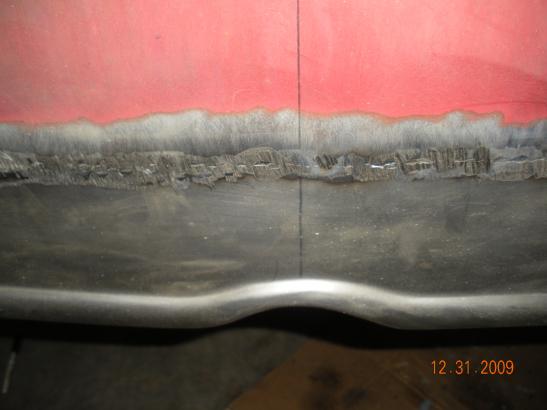
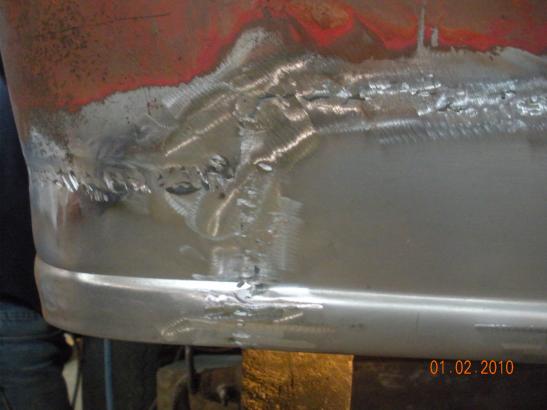
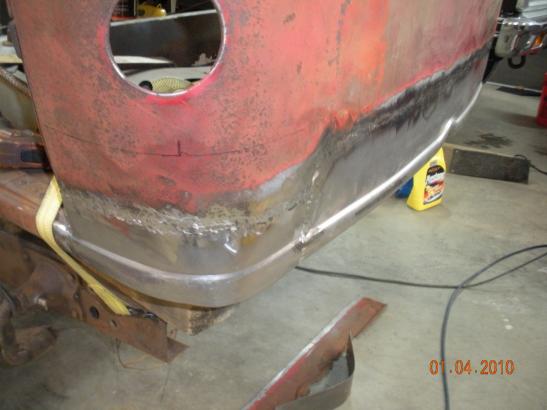
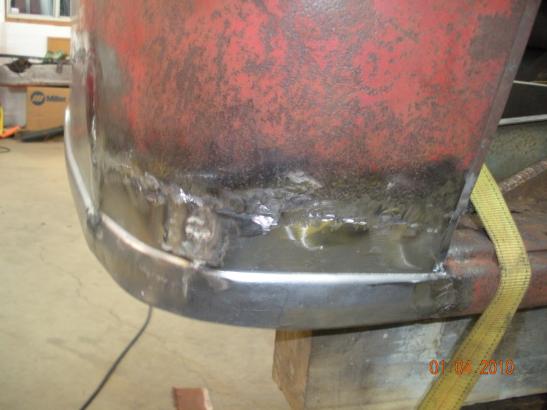
Time to try a cab corner... While it's not done in the picture below--I did weld the bottom of the patch panel to the frame of the floor, to make sure it was pulled in correctly along the bottom, before starting to fit the cab corner.
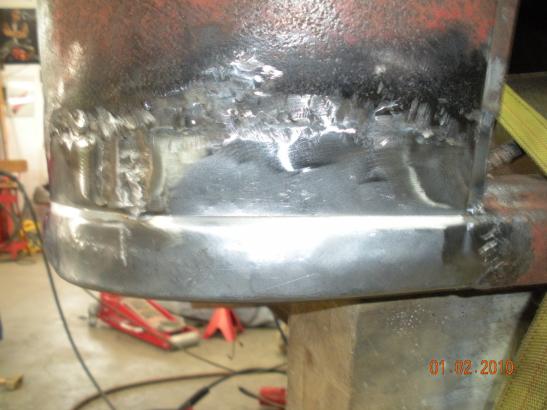
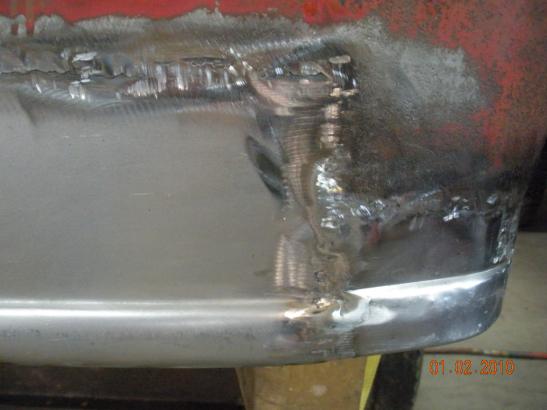
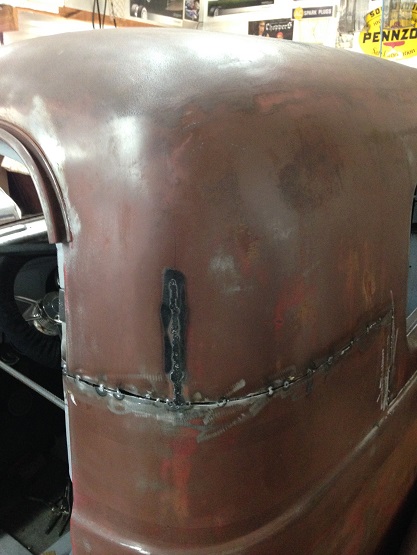
The lower cab corner on the Plymouth pickup has a lot of curve to it--this piece was a lot tougher to make than it looks.
Above is a shot of the front of the
driver side cab corner.
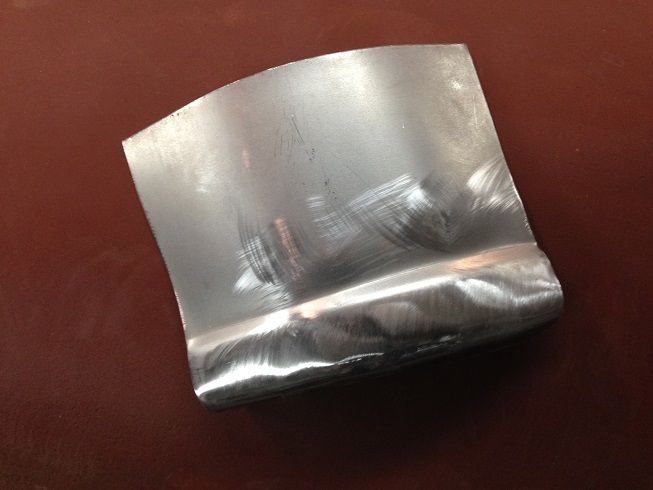
This is a shot of the back of my
cab corner patch. Starting to take shape. Another look.
Here's what the passenger side
looks like...
This is a shot of the back of my
cab corner patch. I think this will be workable... it sure did make the whole thing more solid! A definite improvement.
which is better one or two...
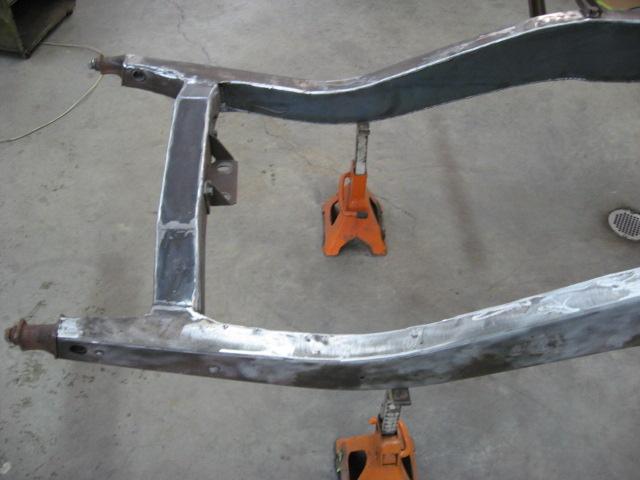
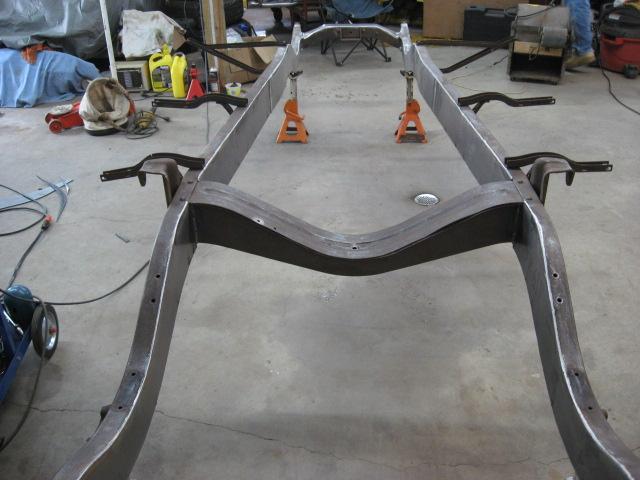
I've wire brushed and sand blasted the frame till I'm tired of it. I've also welded up all the extra bolt/rivet holes that I won't be using. I bet there were 50 holes on each rail. Now I'm going to box the whole thing from front to back. I did remove one center cross member... It was never going to clear a transmission hump and I intend to "X" the frame with a driveshaft safety loop anyway.
Getting started on the frame... Picture above I tacked newly cut pieces in place. Frame is upright.
After tacking top in place I
turned it over and tacked bottom side of frame.
It's still upside down here but
this front cross member had some rust through...
So I cut out the bottom and put in
new metal...
Here's the back cross member...
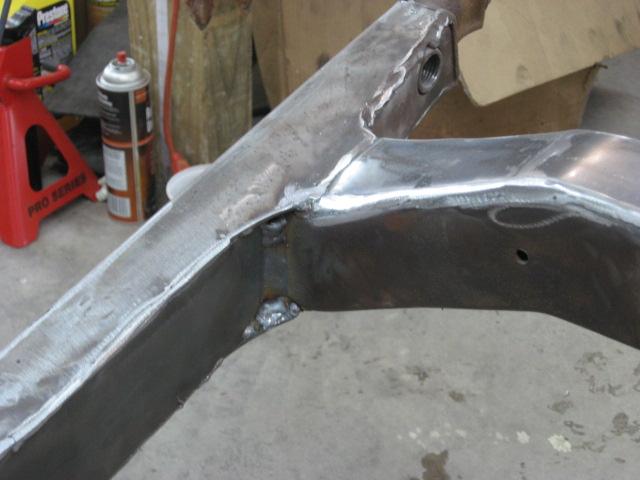
figured I could strengthen it up too, by welding seams.
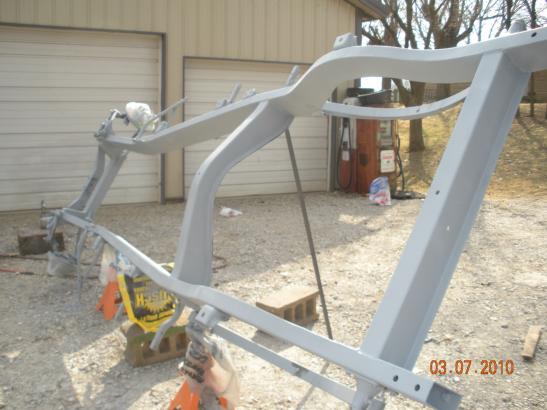
And there it is completely boxed...
This thing should paint pretty
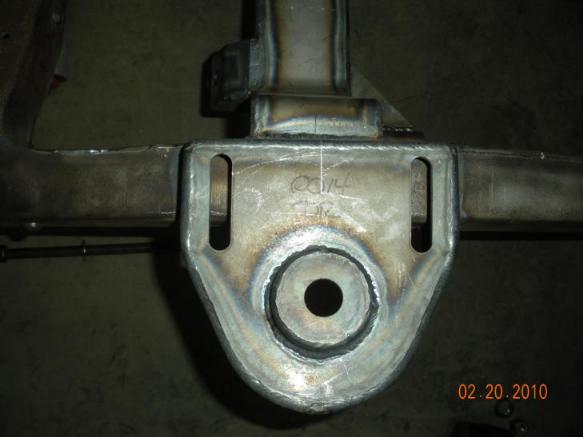
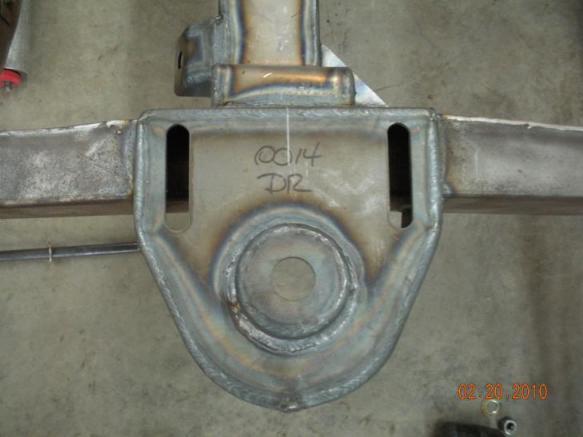
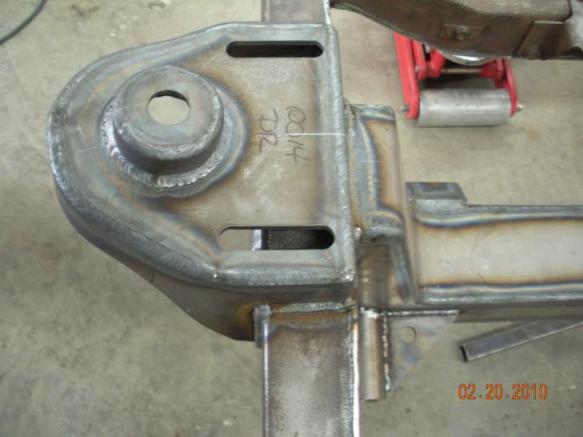
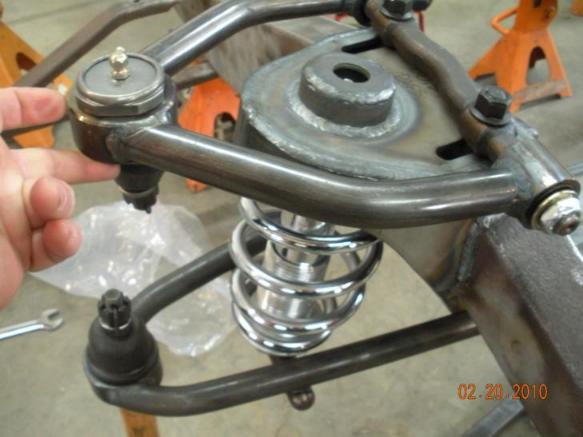
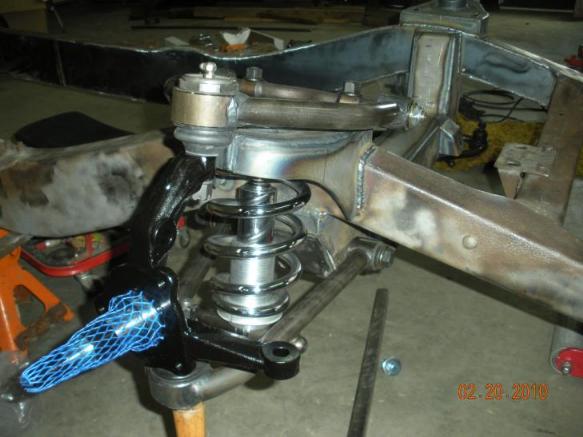
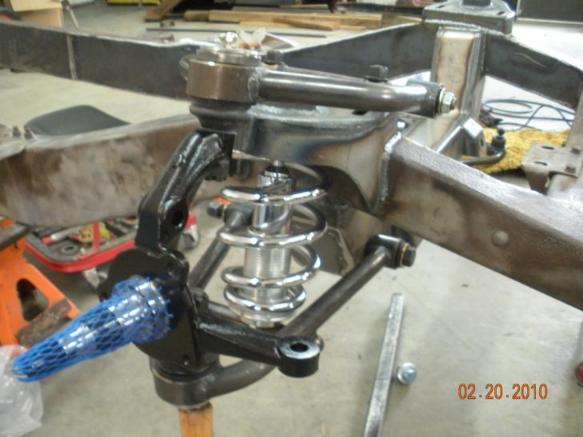
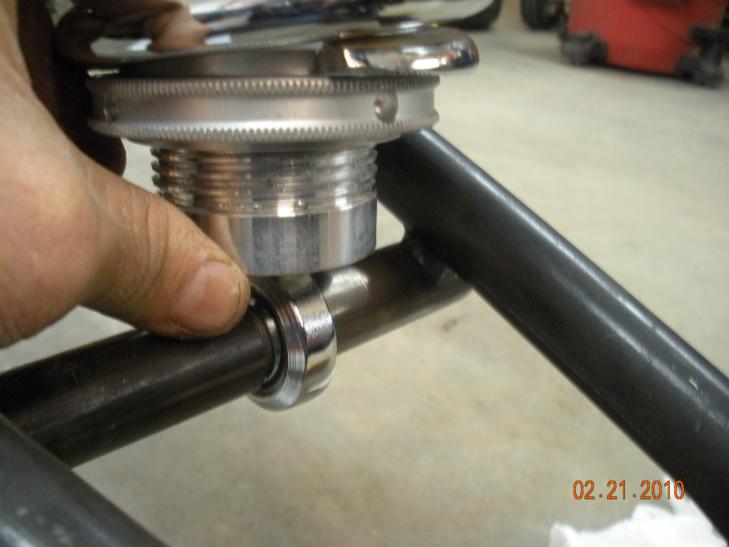
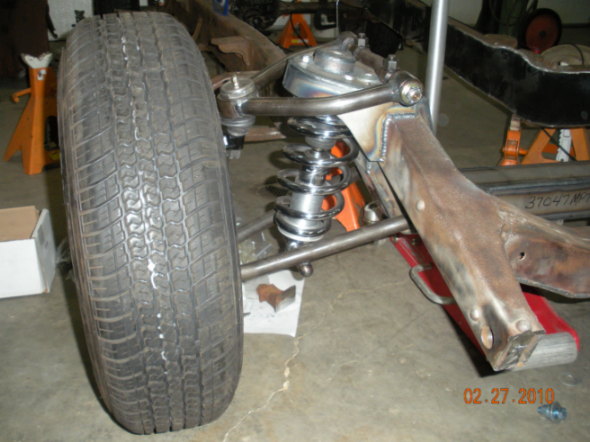
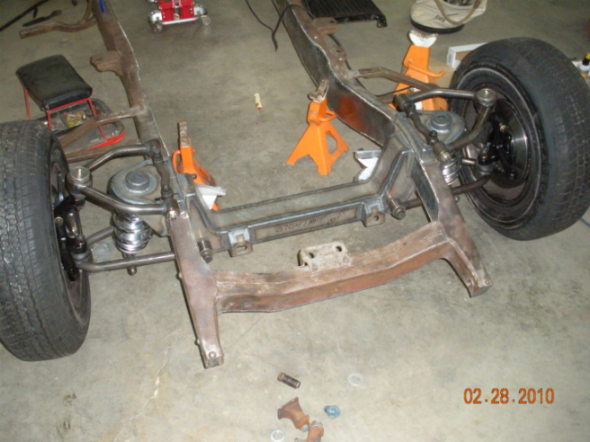
nice... I purchased my IFS from JW Rod Garage out of Belgium, WI. I decided to go with the MII Hub to Hub Coil over Kit. Bob at JWRG has been very helpful. Check out their web site here JW Rod Garage maybe they'll give me a deal when I get ready to order more parts. Time to get this thing in!
Oh
and thanks to my friend Bobby G, for showing me how a Pro welds!
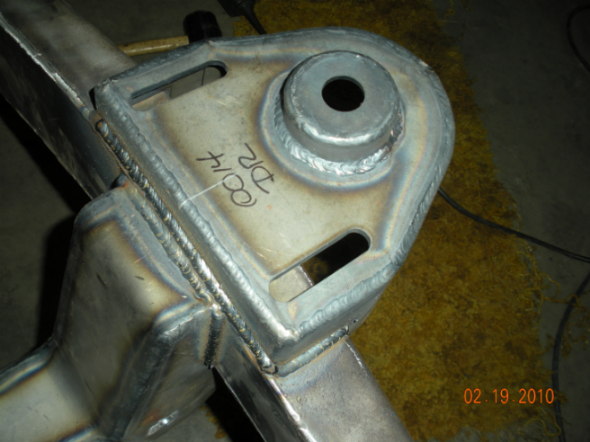
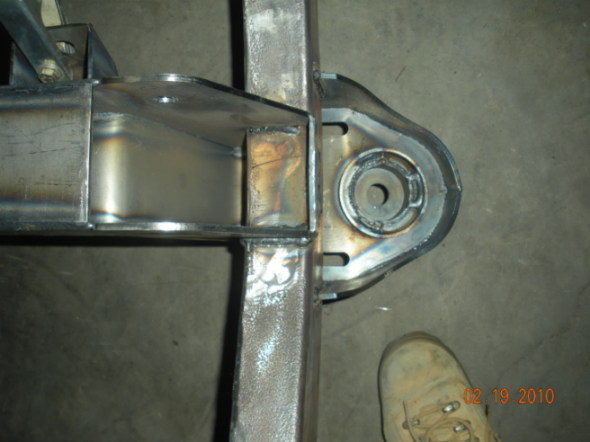
I have the cross member in and
welding in the top hats
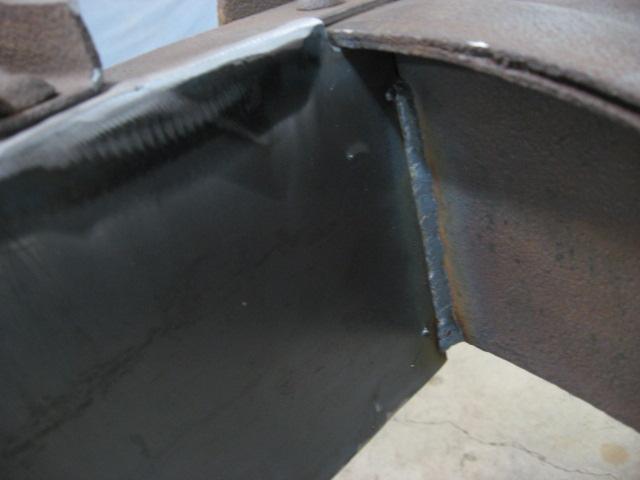
Check out those welds--Not bad for
my little Lincoln 135 welder!
I welded this thing inside and out.
Turned the frame over to get inside too!
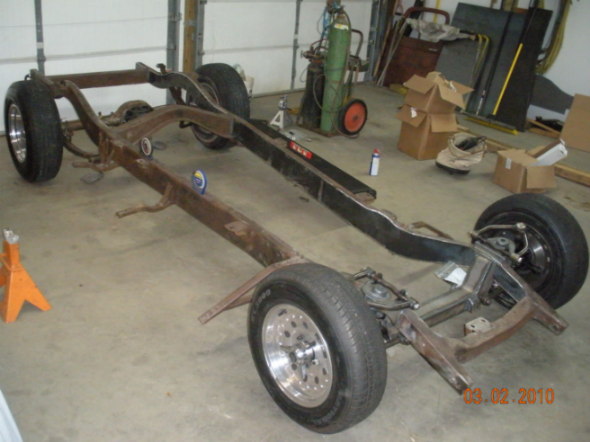
Start putting this thing together.
The front end is in! Man, it's slammed--hopefully when I crank the coil over's up they will raise me at least a couple inches.
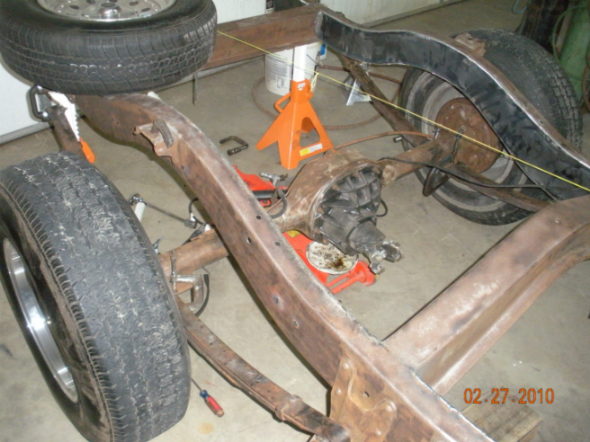
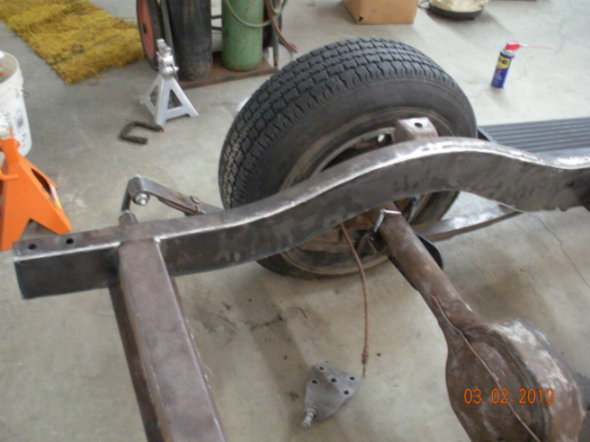
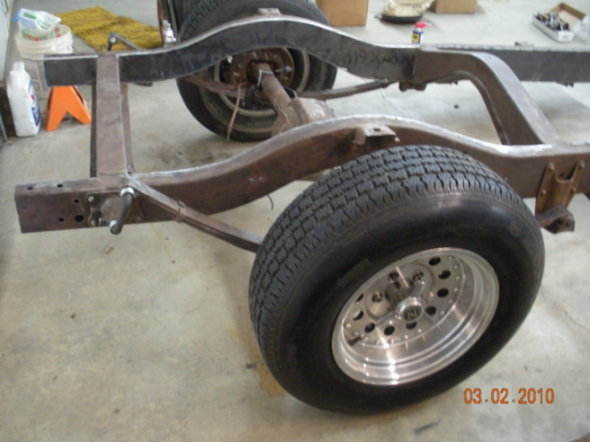
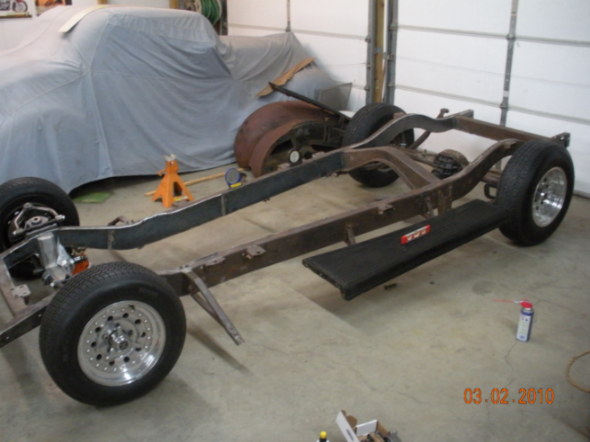
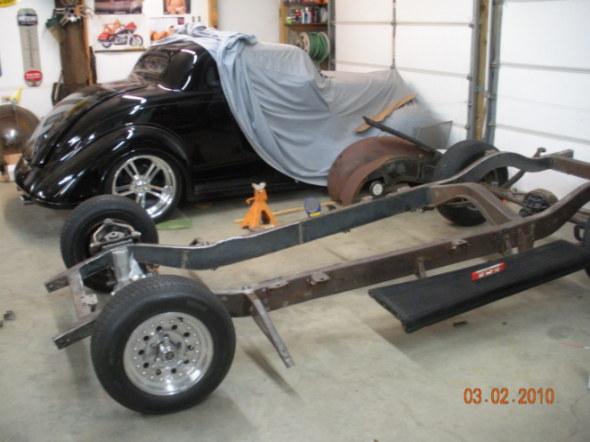
Time to move to the rear end. I'm going to try to use the original springs and shackle mounts with the 8inch. I can't believe the 1/2tons came with 9 leafs. I've removed 3 of them, so down to a total of 6 leaves now and at that, when I stepped on the back cross member, along with two tires and rims and a 5 gallon bucket of sand for even more weight, the frame only goes down less than 1" at the back of the running boards. I may have to remove a couple more leaves.
Here's a mock up of
the rear... notice the C clamps. Now for new spring pads welded in place to
get 2-3 degrees up on the third member and a 2-3" lowering block and I'll be
ready for paint! About 10" too high in back.
I flipped the shackles over here,
that lowered the frame about 4 inches.
Have to do some measuring now...
I'm not sure the bed floor will clear the shackles....
I took out two more
leaves, two longer leaves. Down to 4 now--with six leaves, the springs
just didn't give at all. It's getting closer, and I can always add
leaves as I add the weight of running gear and body.
I think with 6
original leafs it will be close to the stance/rake I want, pretty much guess work at this point
until I can get body sheet metal, motor &
transmission in place. I bet a rotisserie would not be that hard to make, I could sure use one now.
I've got 3 inch lowering blocks in place and it looks about like the stance I want... Now if I can just keep it here while I put it back together?
Started welding up holes in the firewall and holes from screws that held hood felt in place. I think there are about 40 holes in the firewall from the factory.
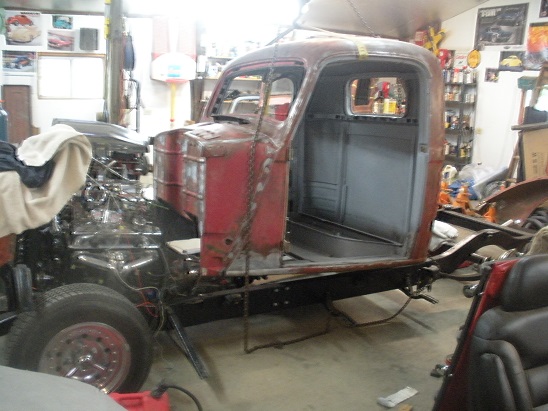
Set the cab back on the frame so I don't forget how it looks.
I have my winter project planned.
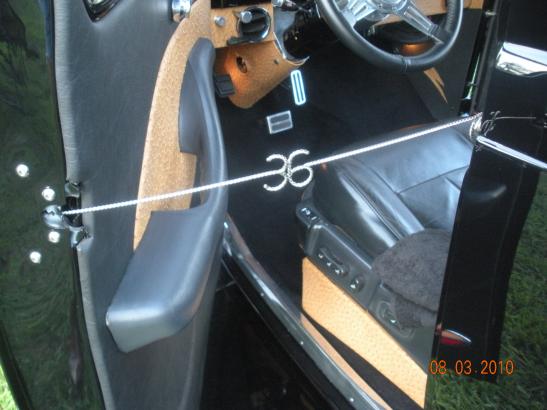
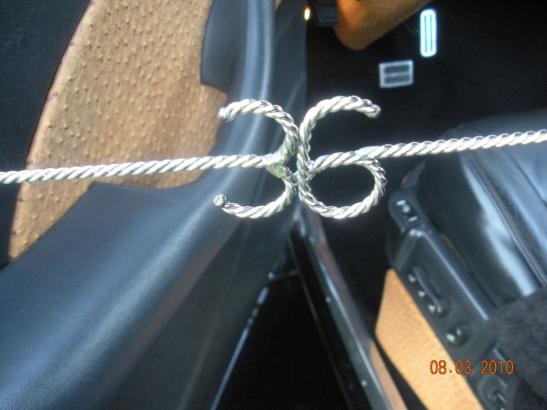
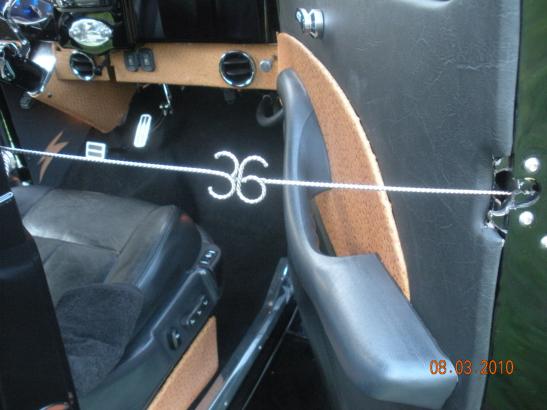
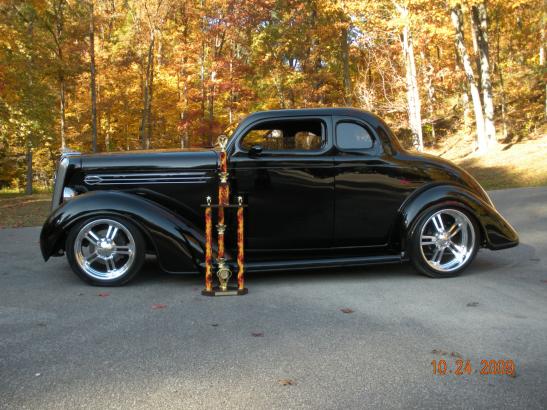
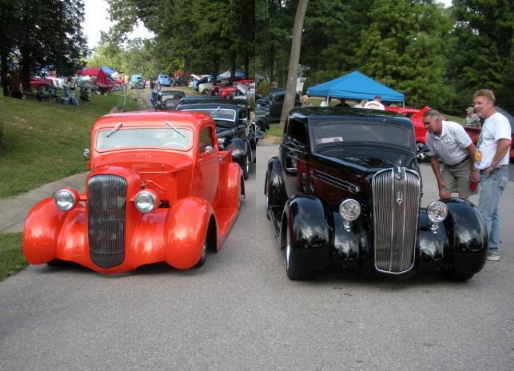
I've always wanted a blower motor, gonna see how this fits in the 37. Best of Show October 2009 Burdette Park My 36 Coupe is my inspiration for the 37 Pickup build. I'm hoping to get the same stance on the 37.
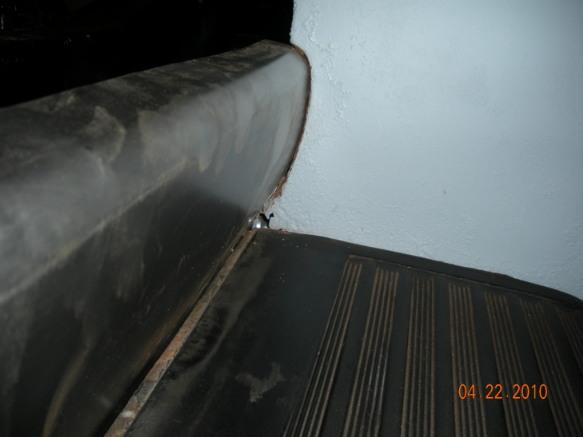
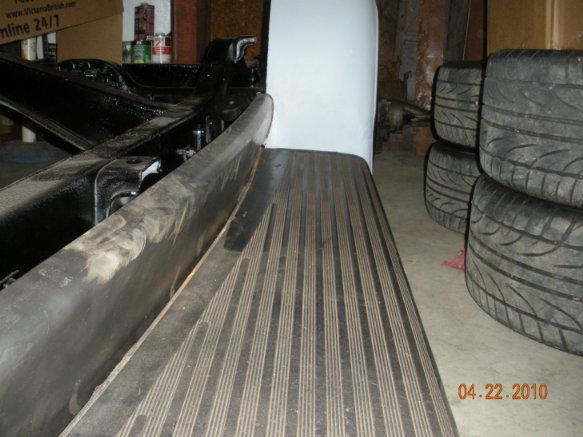
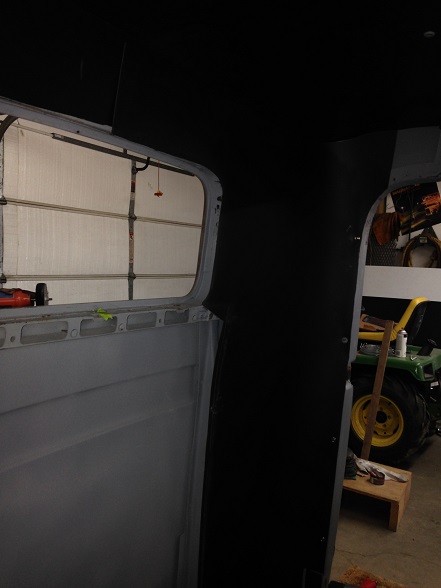
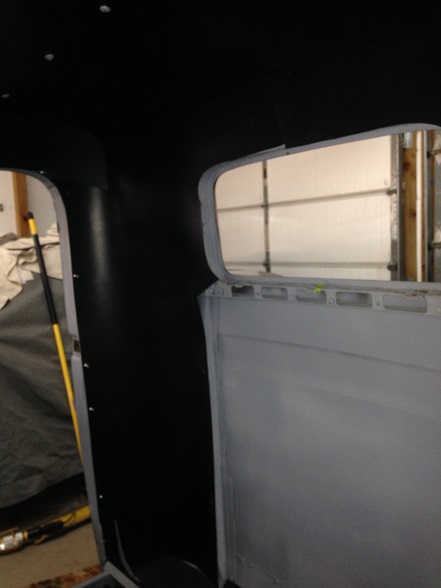
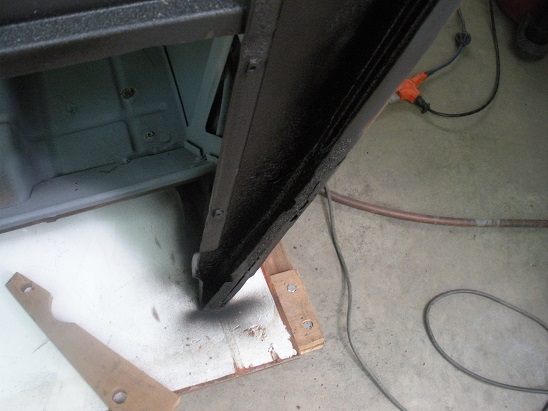
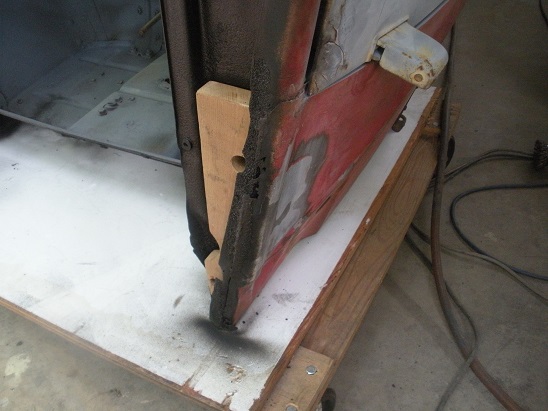
I shot the underside of cab with a rubberized undercoat.
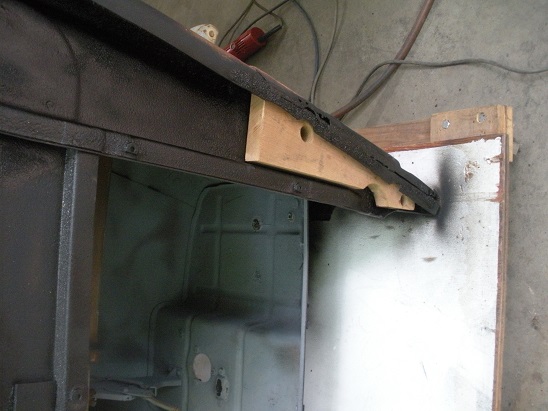
This close up shows where
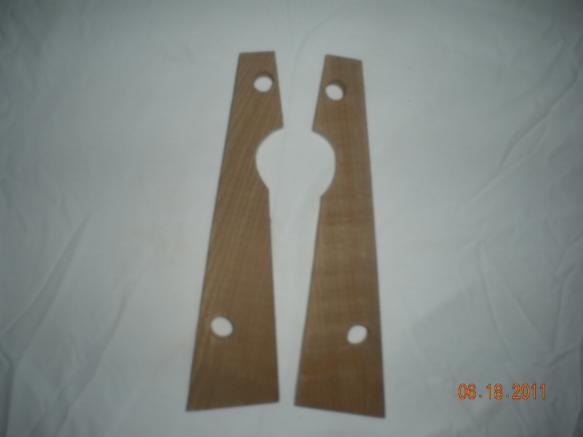
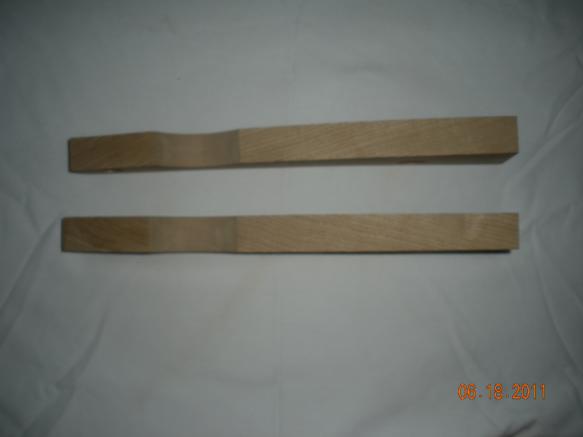
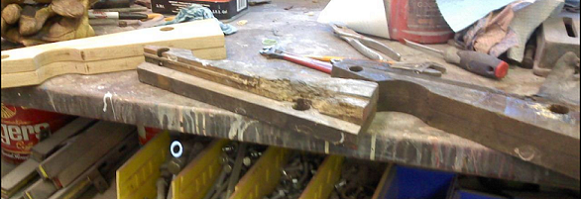
the original oak mounts go. Here you can see one in place. The cab to frame bolts go right through the wood.
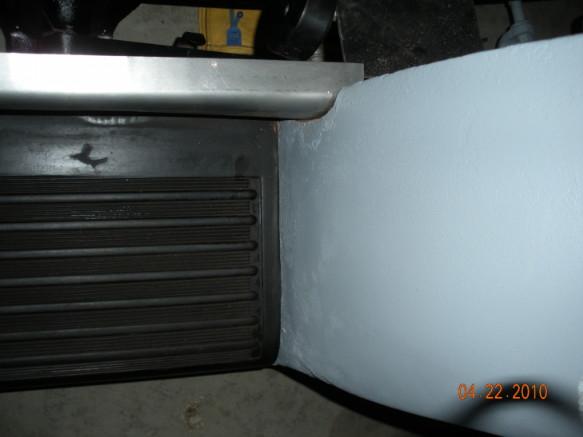
Another shot of the bottom of the passenger side lower cowl.
Both oak mounts in place.
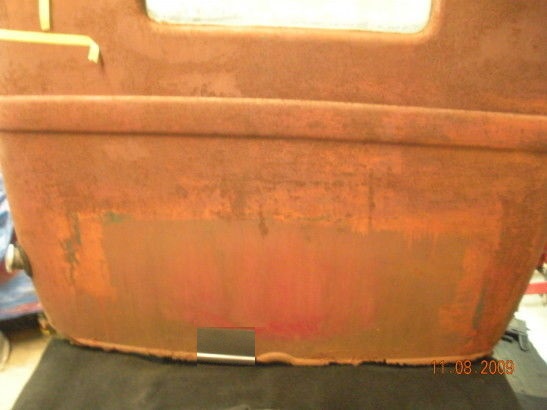
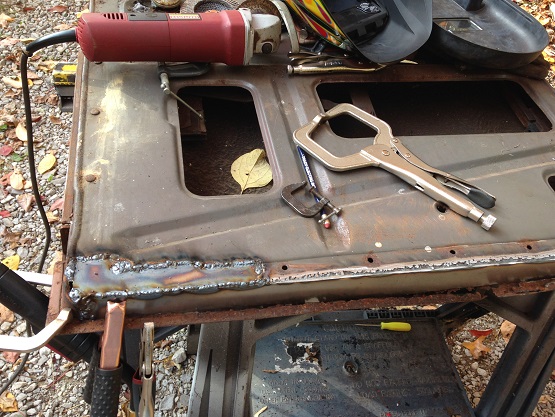
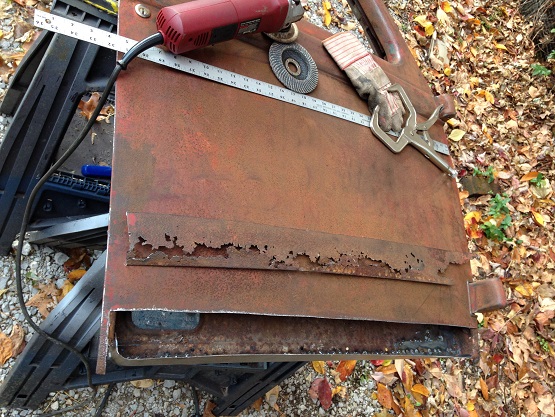
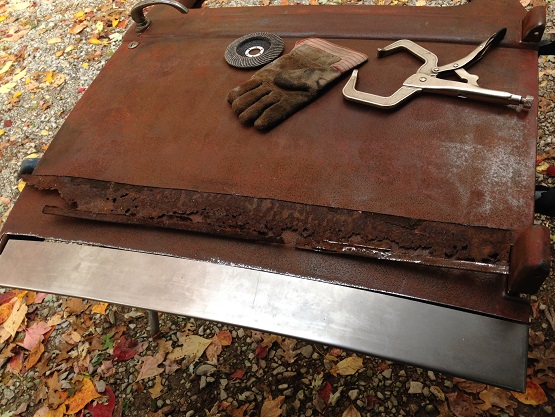
Look at this door. Hinge is solid, window regulator is good, window frame nice, latch and door handle work good. Just the bottom 2 inches and the base plate of the door are shot.
You can see above I marked a cut line three inches up from the bottom all the way across. Here is the same door flipped over. I didn't think about pictures till I had already cut away the inside bottom and had the repair piece in place.
I made a pattern for the door bottom. That piece is 2"wide at the center, 1 3/4" at the front and 1 1/2 at the back of the door. That gives the bottom of the door the curve it needs to follow the cab line.
Here you can see the Swiss cheese metal removed. The new bottom piece is in.
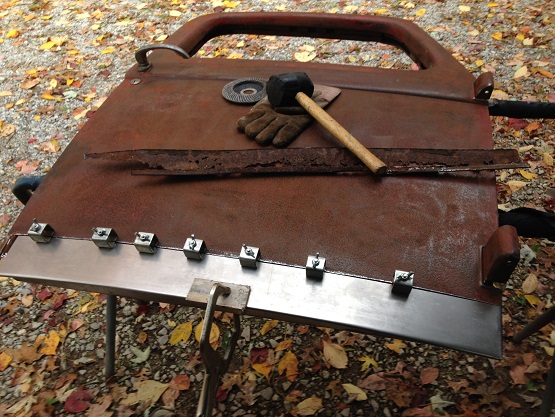
This is the new piece I made laying in place. I bent the lip in the bottom and on the hinge side of the door.
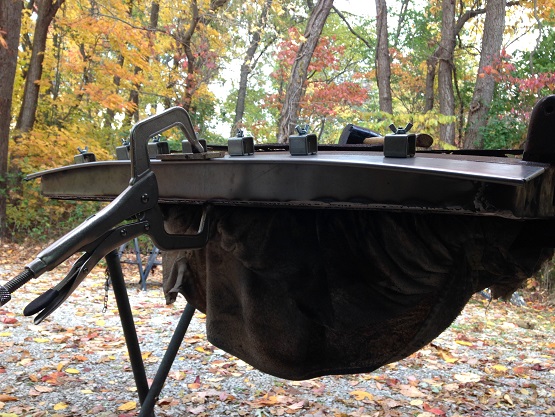
Now you can see it clamped in place. You can also see it doesn't quite reach the outside edge of the door. I only have a 30" brake (this is just a hobby for me, my tools are limited) My patch was 31" long, but I had to trim it to fit in my brake. I'll weld that last inch in later.
This is another shot looking at the bottom of the door. This shows the curve of that bottom piece. And while I didn't get a picture of it I welded a 1/2" lip on that bottom piece all the way across. That lip fits into the outer door skin bottom, just like the original metal did.
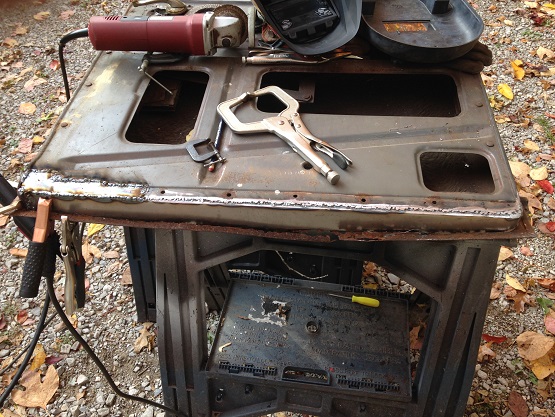
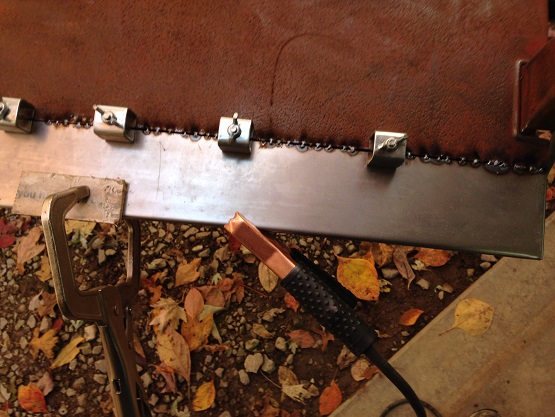
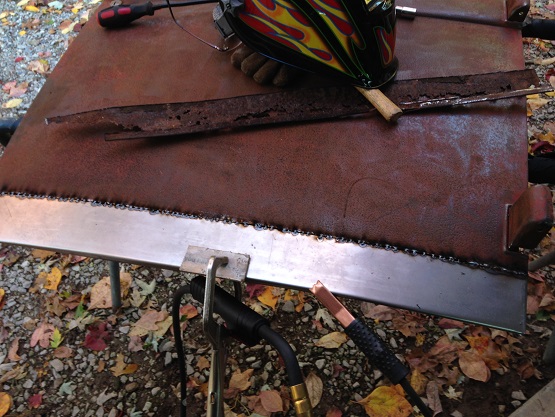
Here I have started my stitch welds (again this is a hobby for me, I'm not a welder).
Clamps removed. This part is hard for me, guess I'm not very patient, but go too fast and too much heat will warp the metal. Just a few more passes then we can grind it smooth.
The door is hung, adjusted, opens, closes, locks and Clay is already playing with a soapstone.
We salvaged a door! That's always cool.
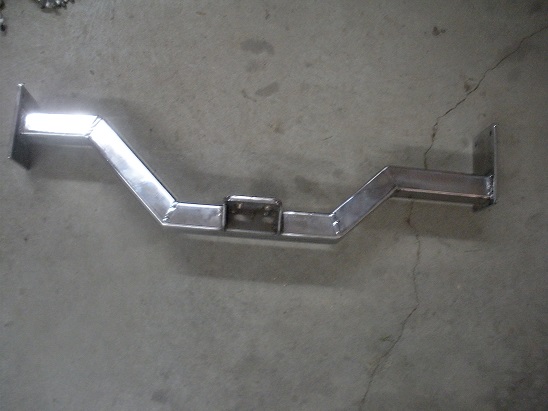
This is the transmission cross member Bobby made for me out of stainless steel.
Here you can see I have brake lines, master cylinder and booster.
Brake lines are 3/16" stainless steel.
Here you can see the cross member we made it's also stainless.
Brake pedal is in place.
I also converted the old drum brakes to disk.
We also made the front motor mounts from the same SS stock.
Here we are ready to ease the cab back into place to check fit.
Getting the cab back in place.
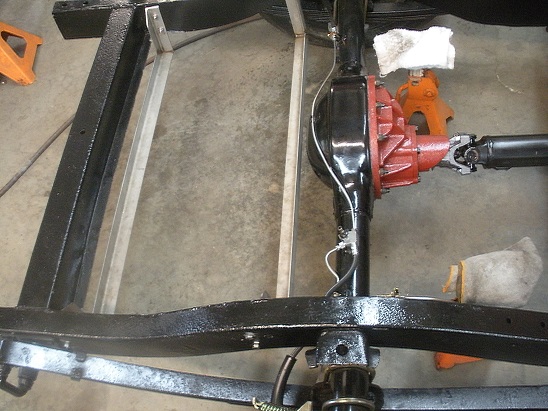
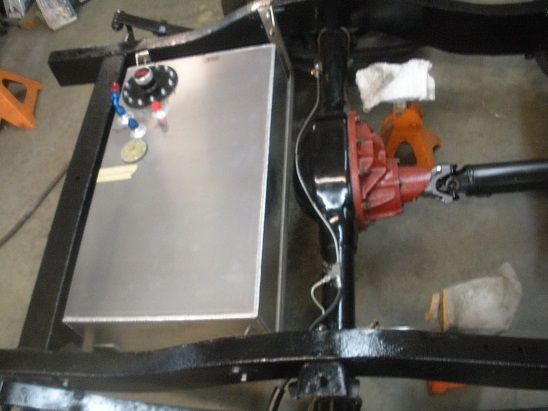
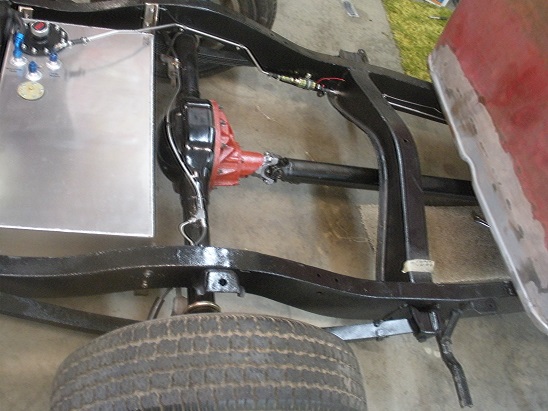
At this point you can see I have the rear end in place with no lowering blocks. I ended up flipping the front original spring mounts over as well. That pretty well gave the the ride height I wanted. I now have 5 original spring leaves in place. You can also
see here I have brake lines, a drive shaft and I'm making mounting brackets
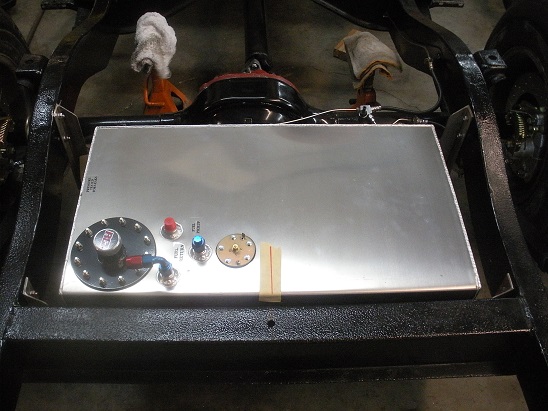
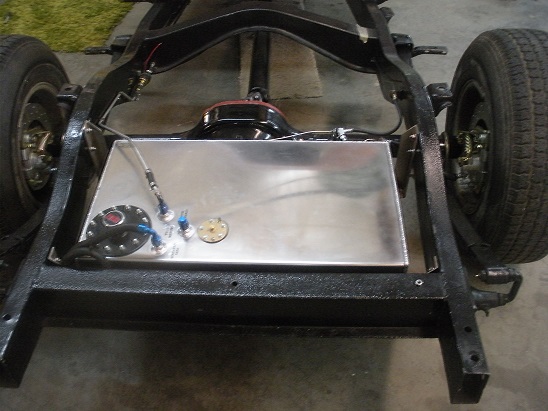
for my 17 gallon fuel cell from RCI (Racer's Choice Inc). Here I'm trial fitting the tank.
Another
shot. At 17 gallon that's about the max. We used all
stainless steel tubing for brakes and fuel. I think it's going to work.
First trip out of the garage.
Finally drove it to the alignment shop.
Running good! I can pass everything but a gas station.
Chopping the Top - March 2014
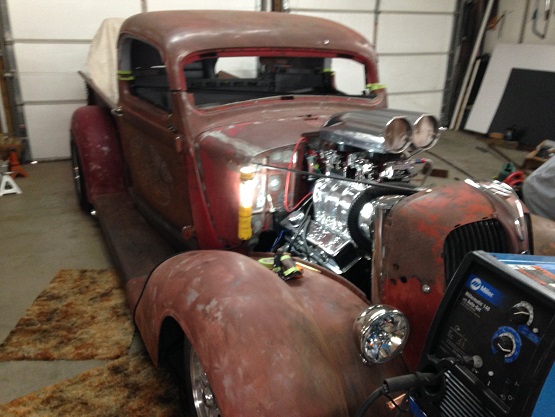
This is my project so far.
I love the lines of these trucks
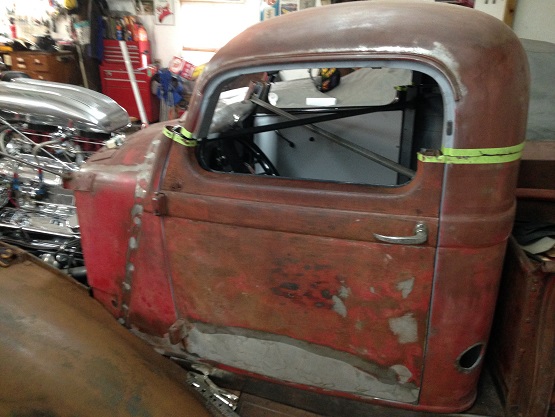
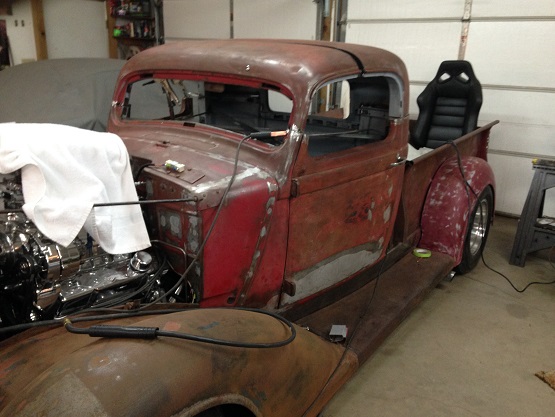
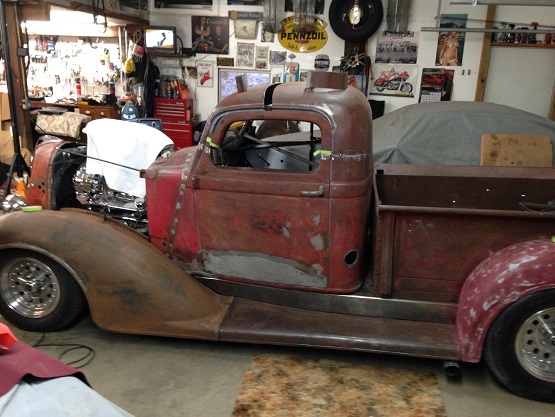
but I've always felt like the cabs were a little too tall. So I'm going to change mine... a little.
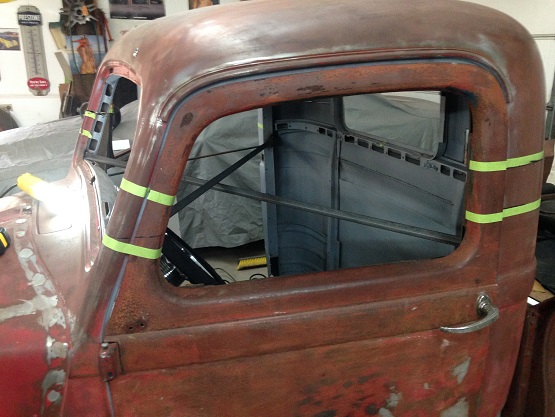
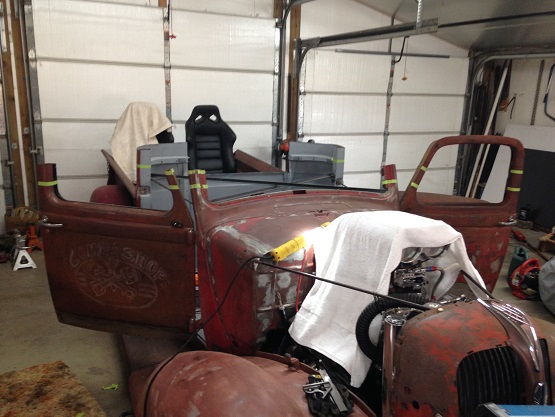
I added temporary bracing and now I'm
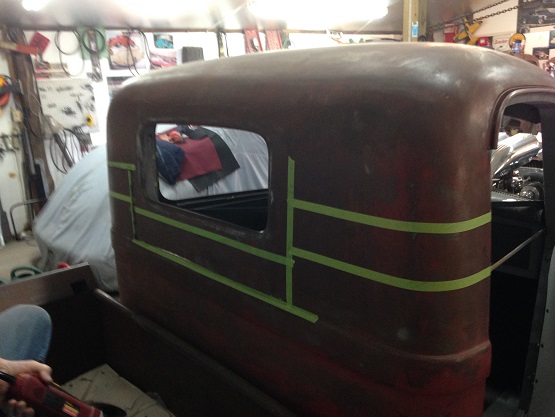
going to take a little off the top. well actually.... out of the middle. It's common and certainly less cutting and welding to
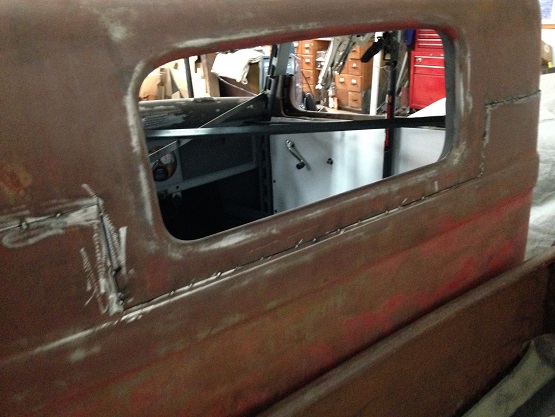
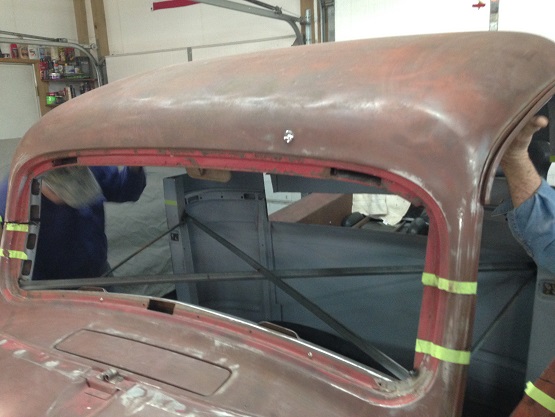
go right through the middle of the rear window opening.
But I've never cared for mail slot
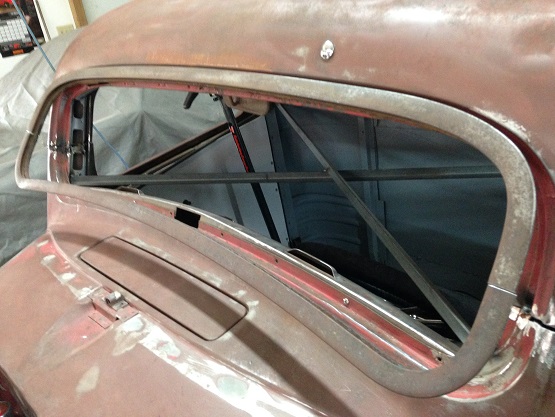
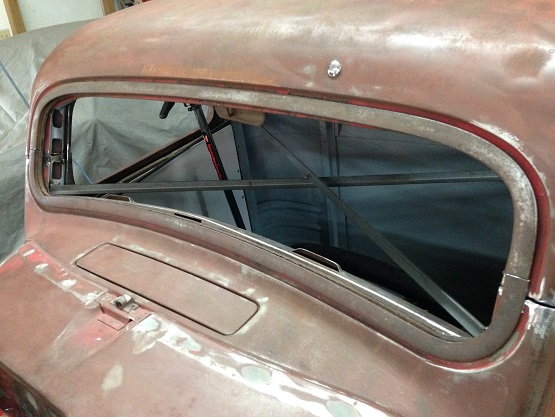
windows, I'm going to keep the rear window as is. These cabs have a
big enough blind spot at the cab corners already. Taking a few inches
of height out of the rear window will only make that worse. The tape marks here show how to
keep the rear window in tact. Now it drops with the top.
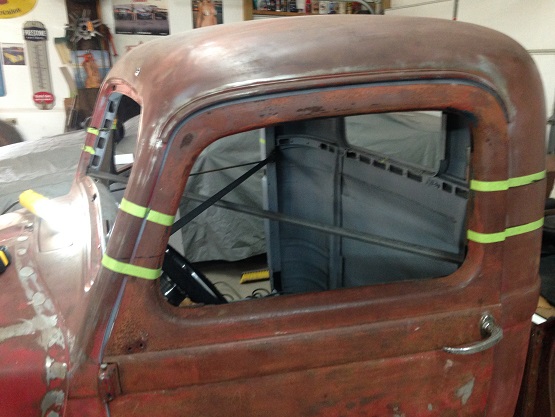
Of course I'll need to take the
same amount out of both A pillars and both door tops.
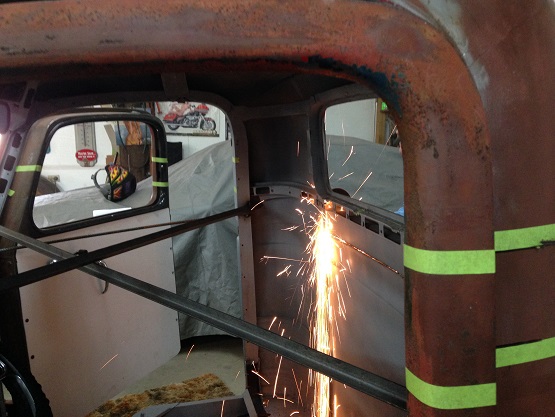
With a couple measurements
complete, it's time to make sparks fly!!
At this point the top cut has been made all the way around to the driver
side A pillar.
it's time for Lift off!!
 http://37plyguy.com/PT50Pics/chop/chop200.jpg
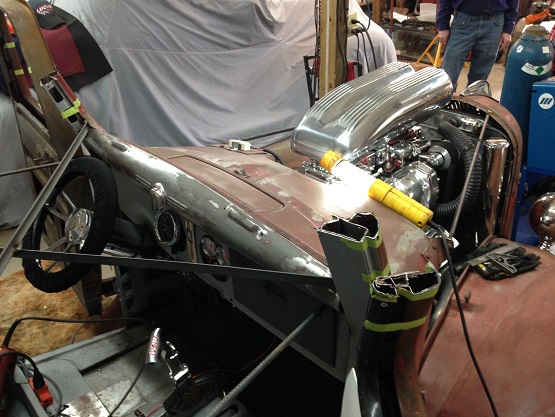
And just like that!! I have
another convertible. T
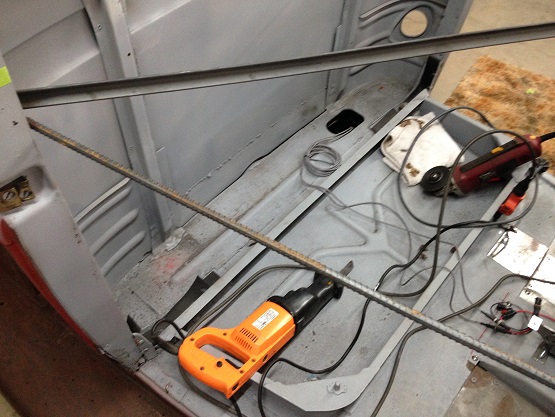
...with a really short windshield frame. Tools required: reciprocating saw, and an angle grinder. A few spare blades and cut off wheels might be handy. I was able to finish all cuts with one wheel and two blades. Those door jambs are tough. I found out it's easy to bend and ruin a blade there. Now make the
second cut on the cab to remove the extra height.
As
soon as I made the second cut all the way around I couldn't stand it.
I had to set the top back
on just to see... and yeah, I like it. No I love it!
Of course as the top comes down it has to get wider. We lined up the
back of the cab and this picture shows how much too short the top was where
the A pillars meet.
We made a cut from side to side in
the top as you can see below. The A pillars line up now. If it
wasn't for that pesky gap in the middle of the top, I'd be almost done.
Pretty easy to cut the doors down, but they
will have to be lengthened at the top as well. Don't throw away any of the cut out metal! What I took out below the rear window will be used to fill the gap in the top. And metal removed from the door A pillar will be perfect for welding in the top of door. Same goes for the interior moldings. in
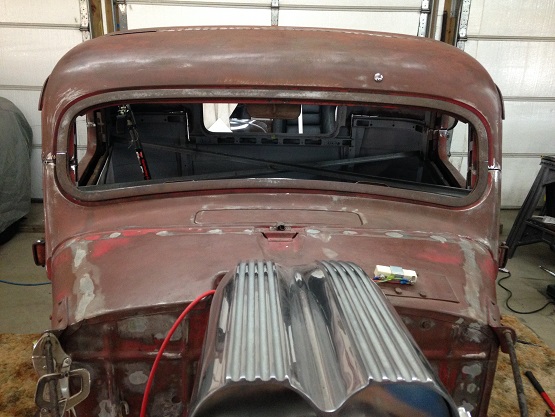
How's this fit look after removing
a few inches from the middle. I'll be honest, it fit better than I
expected.
It did take one pie cut in each cab
corner. As the top of cab has a slight taper.
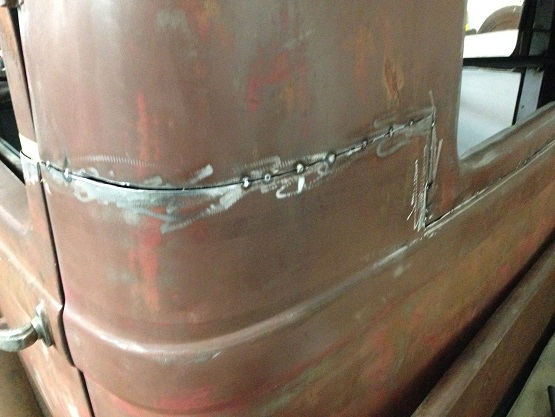
Precise measurement is EVERYTHING
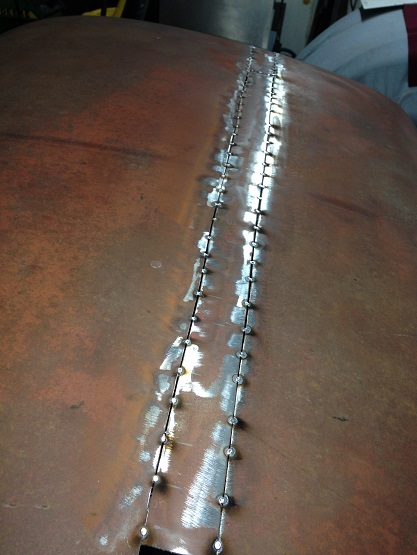
when it comes to putting it back together. By the time I finish these welds with a little grinding inside and out, you wont be able to tell where it was cut and put back together... I hope. :)
I've still got a lot of finish
welding to do but this is what I'm talk'n bout. While I marked the windshield frame for the same cut I haven't touched it yet so it's not pictured here.
Of course, I'm keeping the original
crank out feature and my cowl vent.
This gives my truck a little
attitude.
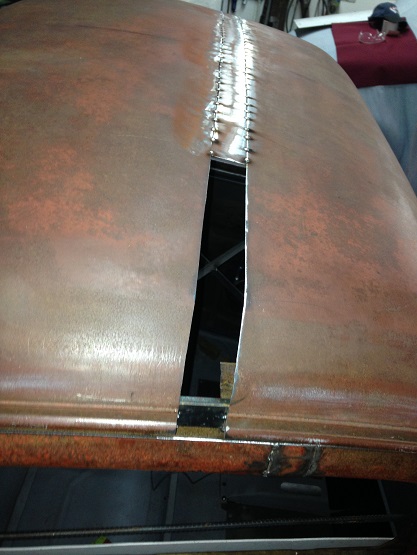
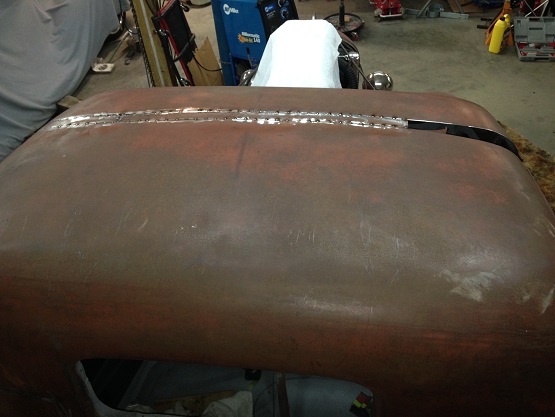
I started in the middle of the cab.
I will probably have to make a pie
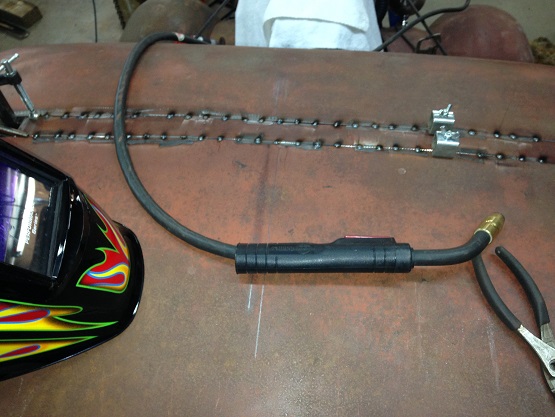
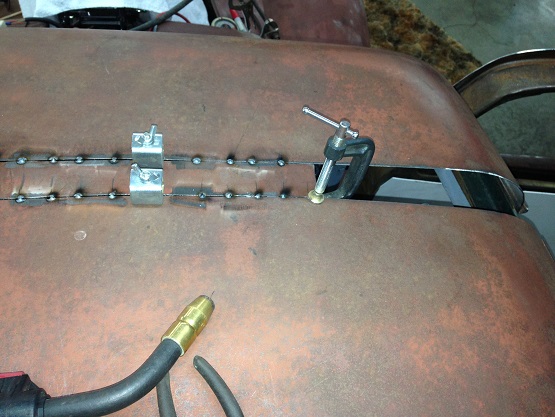
cut on each end. I made tacks about every 2 inches then cut those in half for every inch. My plan is to only tack everything together initially. Once I'm satisfied with fit, windshield and door alignment, I'll go back and fill in all welds. Cutting the 1 inch in half and so forth. I don't want to build up too much heat here.
I'm using the material I cut out of the back and cab corners. Only this much to go on the passenger side.
Getting there slow but sure.
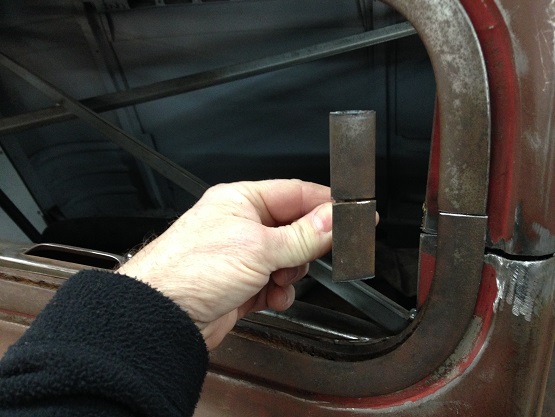
I cut the windshield frame to
match.
I cut at the original split taking
half from both top and bottom of frame.
Appears to be a nice fit again. Closed position.
Full affect with the frame in place. I can hardly wait to finish up welds, get some new tinted glass and interior back in it. Then I'll be on the road with this BAD PT50! So stay tuned, there's more to come!
Since I don't intend to run a rear
bumper I made this roll pan for my truck.
This is the look without the roll
pan.
As you can see I had to trim a
couple inches off the frame rails.
It follows the line of the rear
fenders nicely and gives a much smoother look.
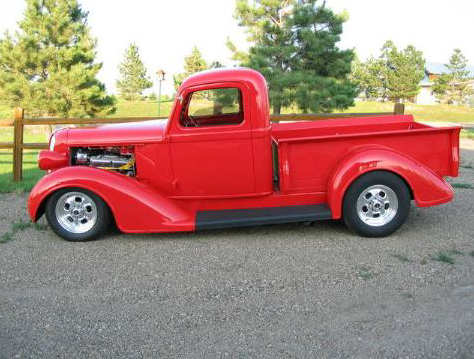
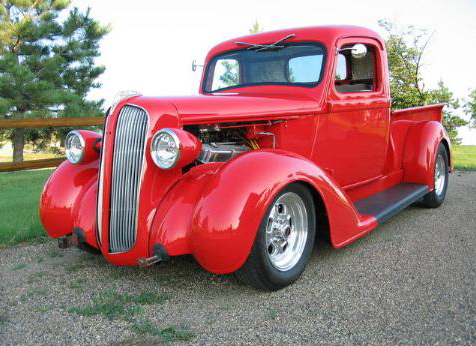
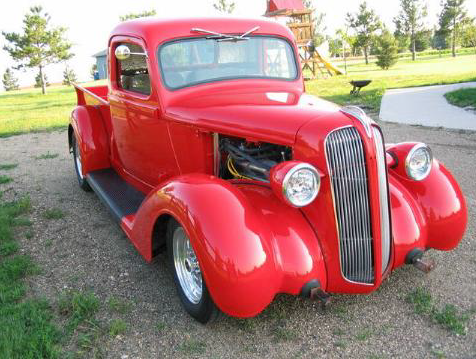
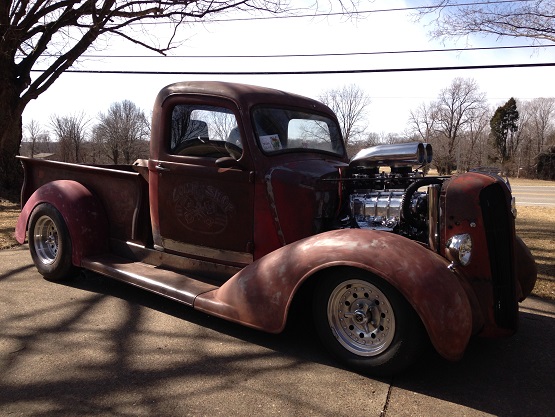
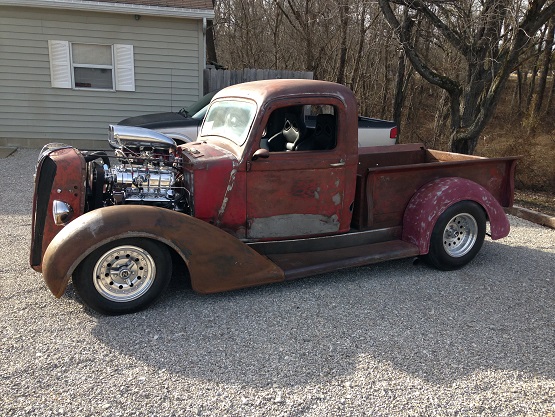
Well it has taken awhile but it is finally coming together.
Well it has taken awhile but it is finally coming together.
Well it has taken awhile but it is finally coming together.
Well it has taken awhile but it is finally coming together.
Well it has taken awhile but it is finally coming together.
Well it has taken awhile but it is finally coming together.
Well it has taken awhile but it is finally coming together.
Well it has taken awhile but it is finally coming together. Frog Follies 09
|
|
||
|
Any one else working on a 37 Plymouth Pick up? See my 36 Plymouth Coupe here! Back to Pedals-N-Pumps Homepage
Copyright 2000. Pedals-N-Pumps. All rights reserved. |
